
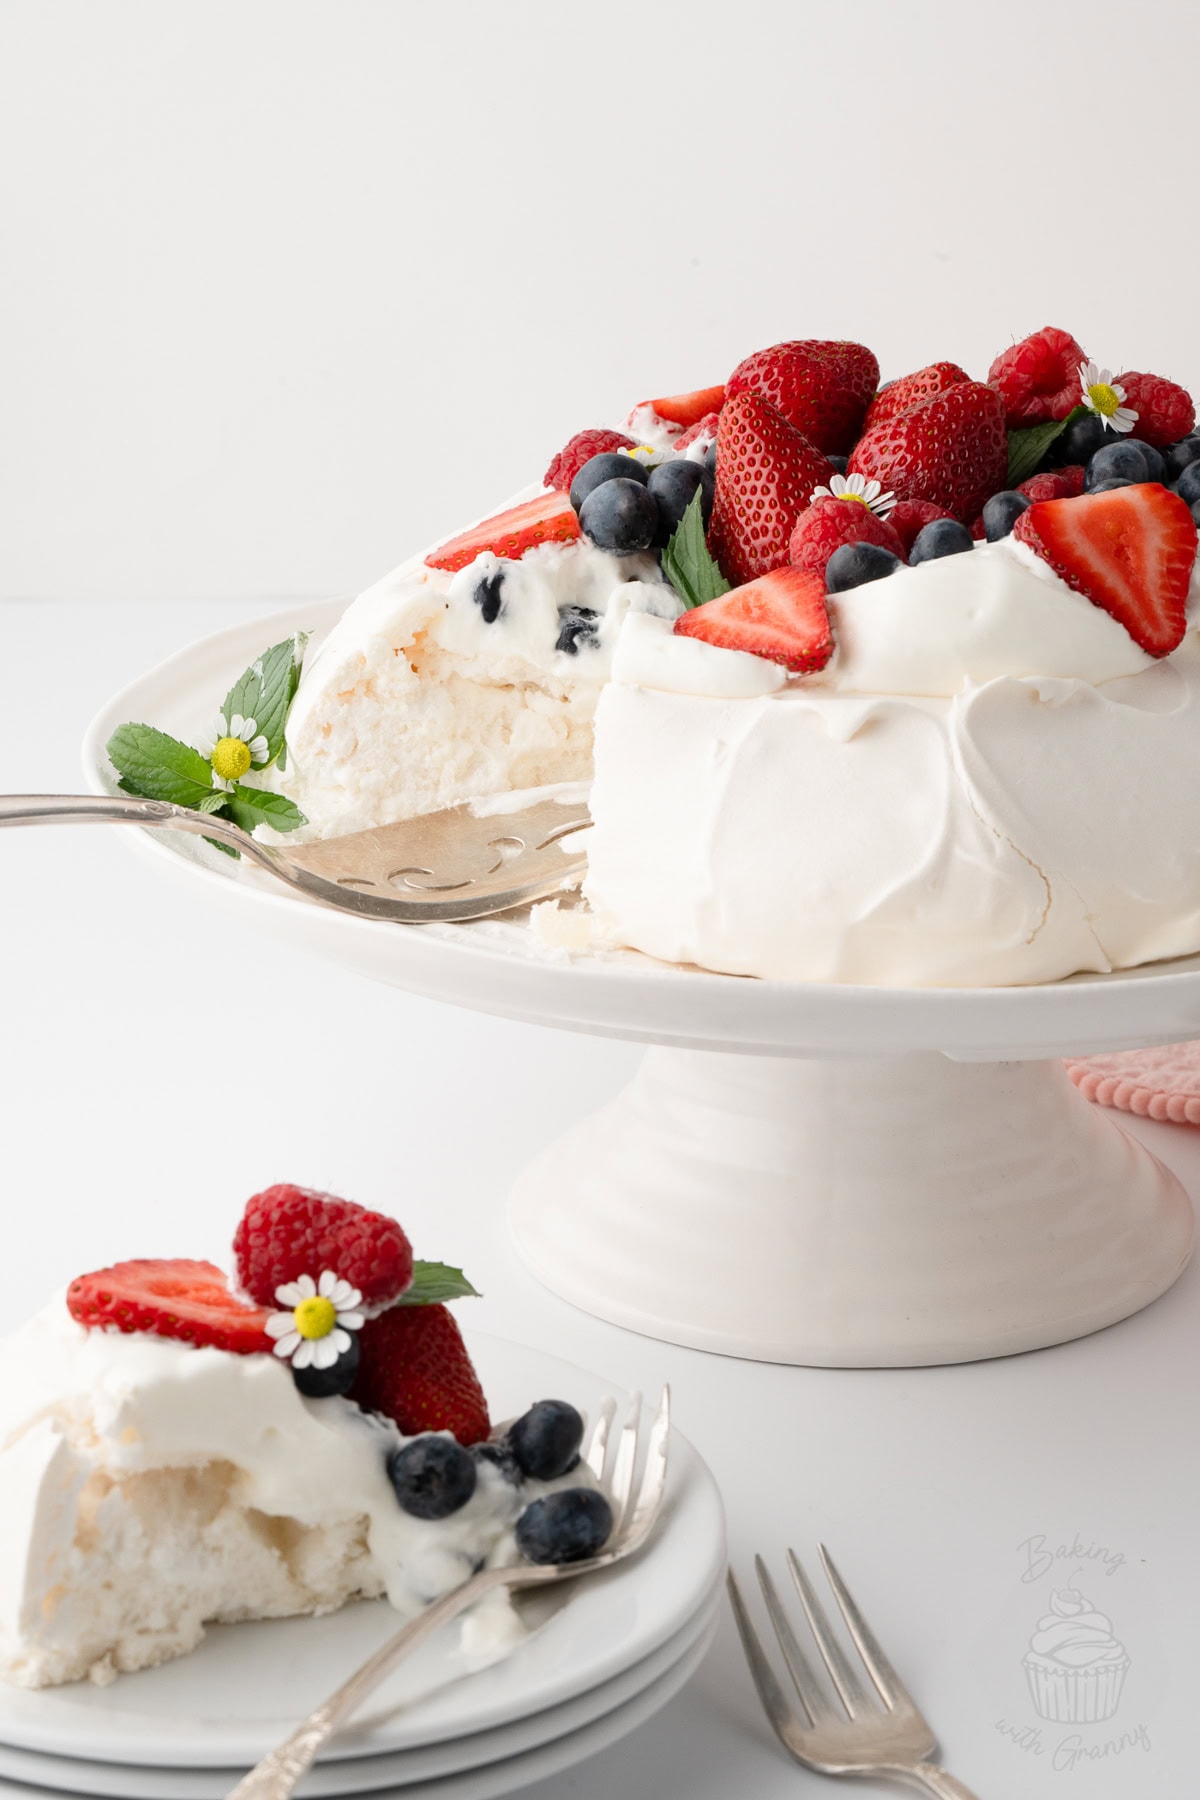
You’ve been asking me for a Pavlova recipe for a while, so here it finally is! This classic Pavlova has a crisp, dry meringue shell with a soft, sticky, marshmallow-like centre, topped with lightly sweetened cream and fresh berries.
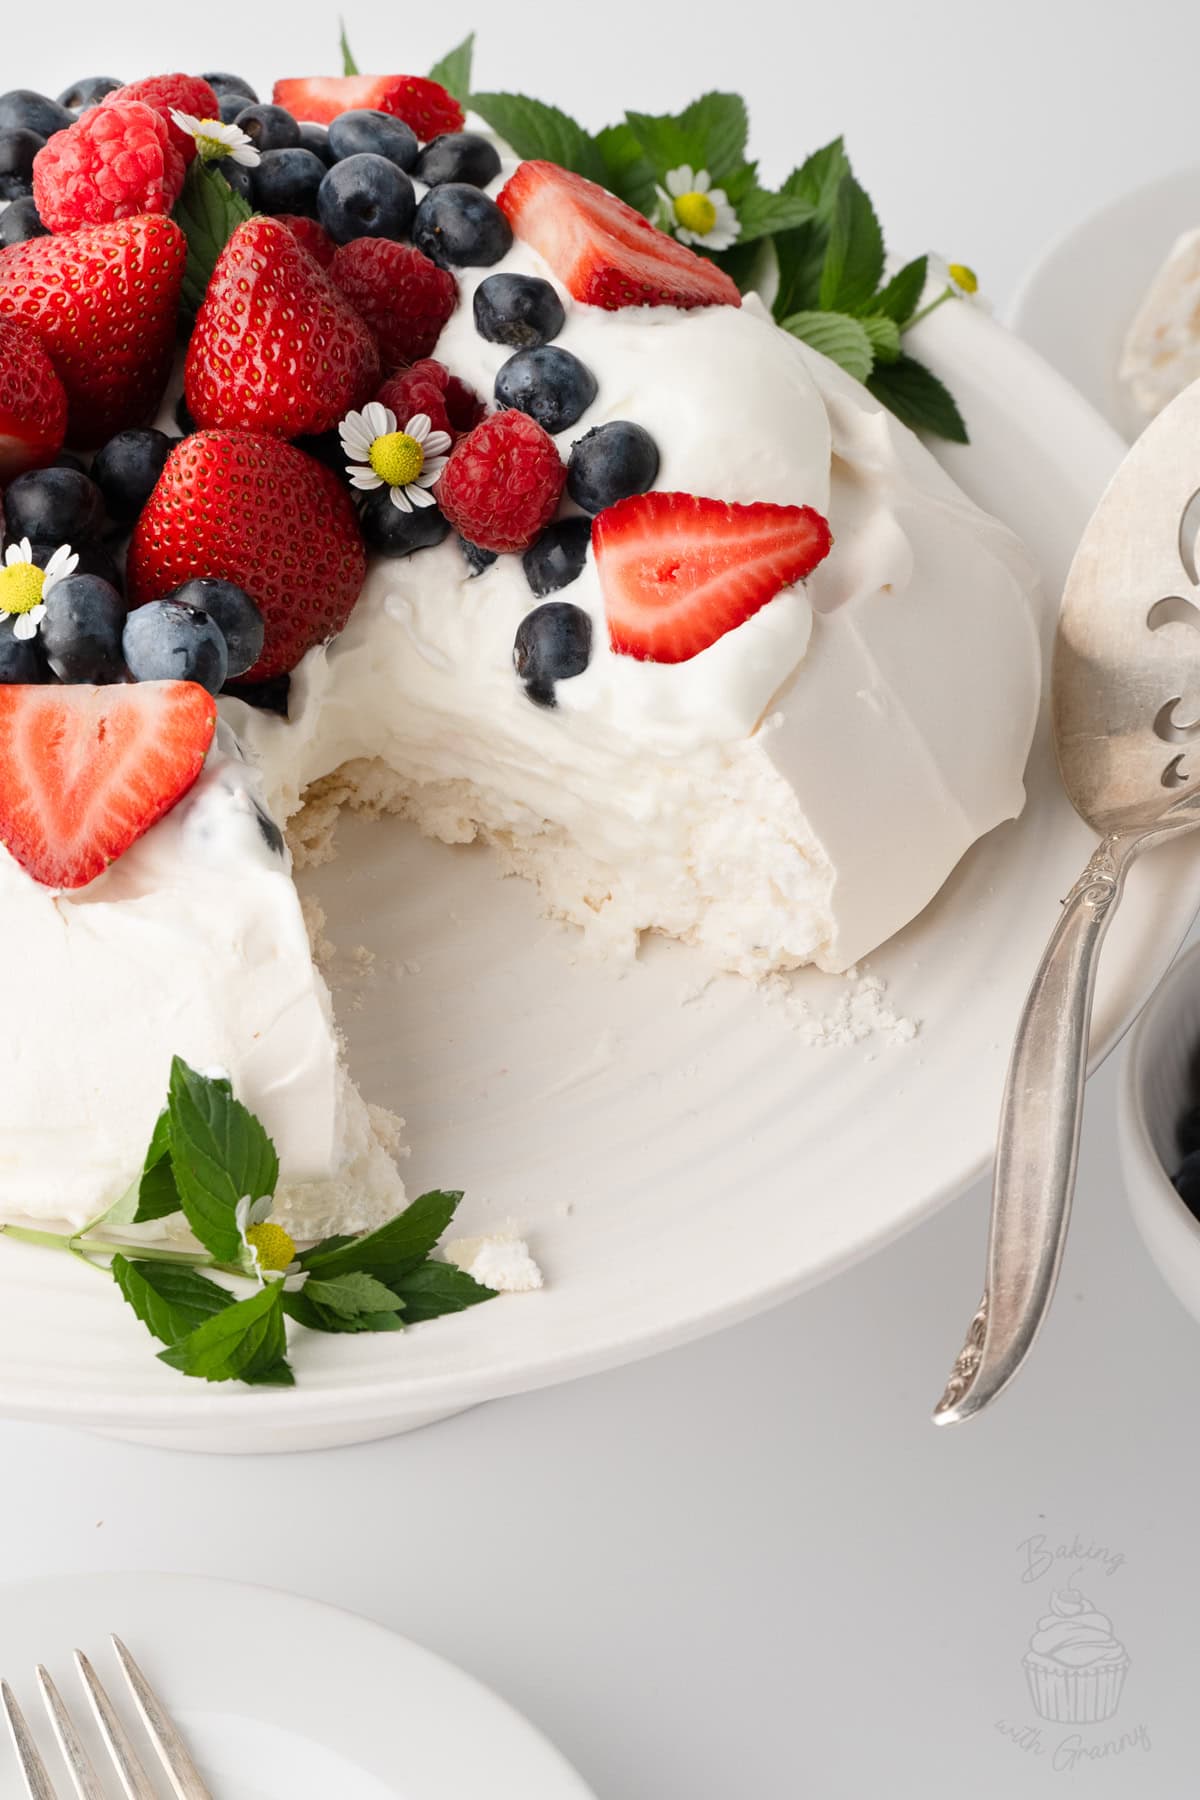
Pavlova Recipe Snapshot
- Recipe Type: Classic fruit-topped Pavlova.
- Texture: Crisp and dry on the outside, with a soft, sticky, marshmallow-like centre and a wee bit of chew.
- Flavour: Sweet meringue with lightly sweetened cream and juicy fresh berries.
- Difficulty: Easy, but it needs a little patience when whisking and cooling.
- Bake Time: 1 hour 30 minutes.
- Serves: 6-8 portions.
- Size: Around 20-23cm (8-9 inches) across.
- Key Ingredients: Egg whites, caster sugar, cornflour, double cream and fresh berries.
- The Important Bit: Add the caster sugar a spoonful at a time, keep whisking until the meringue is thick, glossy and holds stiff peaks.
- Cooling: Leave in the switched-off oven until completely cool (where possible) to help prevent cracking.
- Best Served: On the day you add the cream and fruit.
Summarise & Save this Recipe on:
What is Pavlova?
Pavlova is a large meringue dessert with a crisp, dry outer shell and a soft, sticky, marshmallow-like centre. It’s usually topped with whipped cream and fresh fruit, making it especially lovely as a summer dessert – although there’s nothing stopping you from serving it year-round.
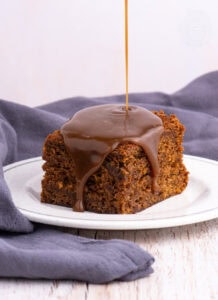
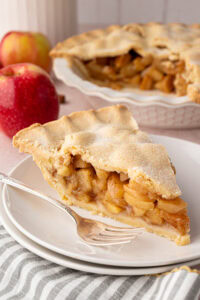
It’s a classic dessert that I always feel is a little bit special when you bring it to the table, much like Sticky Toffee Pudding, easy Apple Pie or a fresh Fruit Tart, but the light meringue and fresh fruit make Pavlova particularly well suited to warmer weather.
Unlike my smaller traditional Meringues, which are baked to be crisp with just a little chew through the middle, Pavlova is deliberately kept much softer inside. For this recipe, the meringue is shaped into one large round, then baked slowly, and left to cool gradually in the switched-off oven before being topped with cream and berries.
A Much-Requested Pavlova Recipe
A Pavlova recipe has been requested by Baking with Granny readers for quite some time, and given that I already have a tried-and-tested Meringue recipe, it was probably only a matter of time before this one had to appear too!
The meringue itself follows the same straightforward approach I’ve always used. I don’t add vinegar, lemon juice or cream of tartar – I never have, and neither did my Mum in all her years working in a bakery. I do usually add a little cornflour though, which is another tip passed on from my Mum. You can make perfectly good meringue without it, and I have many times, but cornflour does give a little extra stability, which can be especially helpful when you’re making one big Pavlova at home.
For me, a good Pavlova needs that contrast in texture. Crisp and dry on the outside, but soft, sticky and marshmallow-like through the middle, with just a little chew. I like to keep the topping simple with lightly sweetened cream, plenty of fresh berries and, if you like, a wee handful of chopped pistachios for a wee bit of extra colour and crunch.
Key Ingredients
See the recipe card for a full ingredients list, required quantities and cup conversions.
Substitutions & Additions
Powdered Egg Whites: Powdered egg whites work very well for meringues. Reconstitute them according to the packet instructions, then use them in the same way as fresh egg whites.
Fresh Fruit: Strawberries, raspberries and blueberries are my favourite combination, but you can use whatever fruit you like, have available or is in season. Softer fruits are best added shortly before serving so their juices don’t sit on the meringue for too long.
Pistachios: I sometimes finish Pavlova with a small handful of roughly chopped, unsalted pistachios for a little extra colour and crunch, but they’re completely optional.
Edible Flowers: A few edible flowers make a lovely finishing touch if you want the Pavlova to look a little more special. Just make sure they’re specifically sold as edible and suitable for use on food.
Looking for dairy-free, gluten-free or vegan adaptations? See the Free-from & Vegan section below.
Free-from & Vegan
Amy recommends: If you regularly need to adapt baking recipes for gluten-free, dairy-free, egg-free or vegan diets, I highly recommend The Elements of Baking by Katarina Cermelj, creator of The Loopy Whisk. It’s a brilliant resource for understanding how substitutions work, rather than simply swapping ingredients and hoping for the best.
Gluten-free Options:
This Pavlova is naturally gluten-free, although it’s always worth checking individual ingredient labels if you’re baking for someone with an allergy or coeliac disease.
Nut-free Adjustments:
This recipe contains no nuts, but as always, be sure to double-check the allergen lists for your individual ingredients.
Dairy-free Swaps:
Swap the cream for a dairy-free whipping cream, such as Oatly Whippable Creamy Oat or Califia Farms Dairy Free Heavy Cream Alternative. Whip and use it in the same way for the topping.
Egg-Free Adaptations:
Aquafaba (the liquid from a tin of chickpeas) can be whipped into a meringue in place of egg whites and is a great option for making an egg-free Pavlova. Use 2 tbsp of aquafaba per egg. Follow the same steps for whipping it, then gradually adding the sugar.
Vegan Substitutions:
As per the dairy-free and egg-free swaps above, use aquafaba for the meringue and a plant-based whipping cream for the topping.
Allergy Disclaimer & Resources:
Any advice or suggestions to make recipes “free-from” or vegan are purely suggestions. Please double-check all packaged ingredients individually, taking extra caution when baking for those with allergies or intolerances.
For official guidance on food allergies, please see Food Standards Agency (food.gov.uk) | For more info on coeliac disease, please see Coeliac UK (coeliac.org.uk) | For more info on a vegan diet, please see The Vegan Society (vegansociety.com)
How to Make Pavlova
Pavlova is surprisingly simple to make, but taking the time to whisk the meringue properly is what gives you that lovely crisp outside and soft, sticky centre. Follow the step-by-step below, or head to the recipe card at the bottom for the full printable recipe.
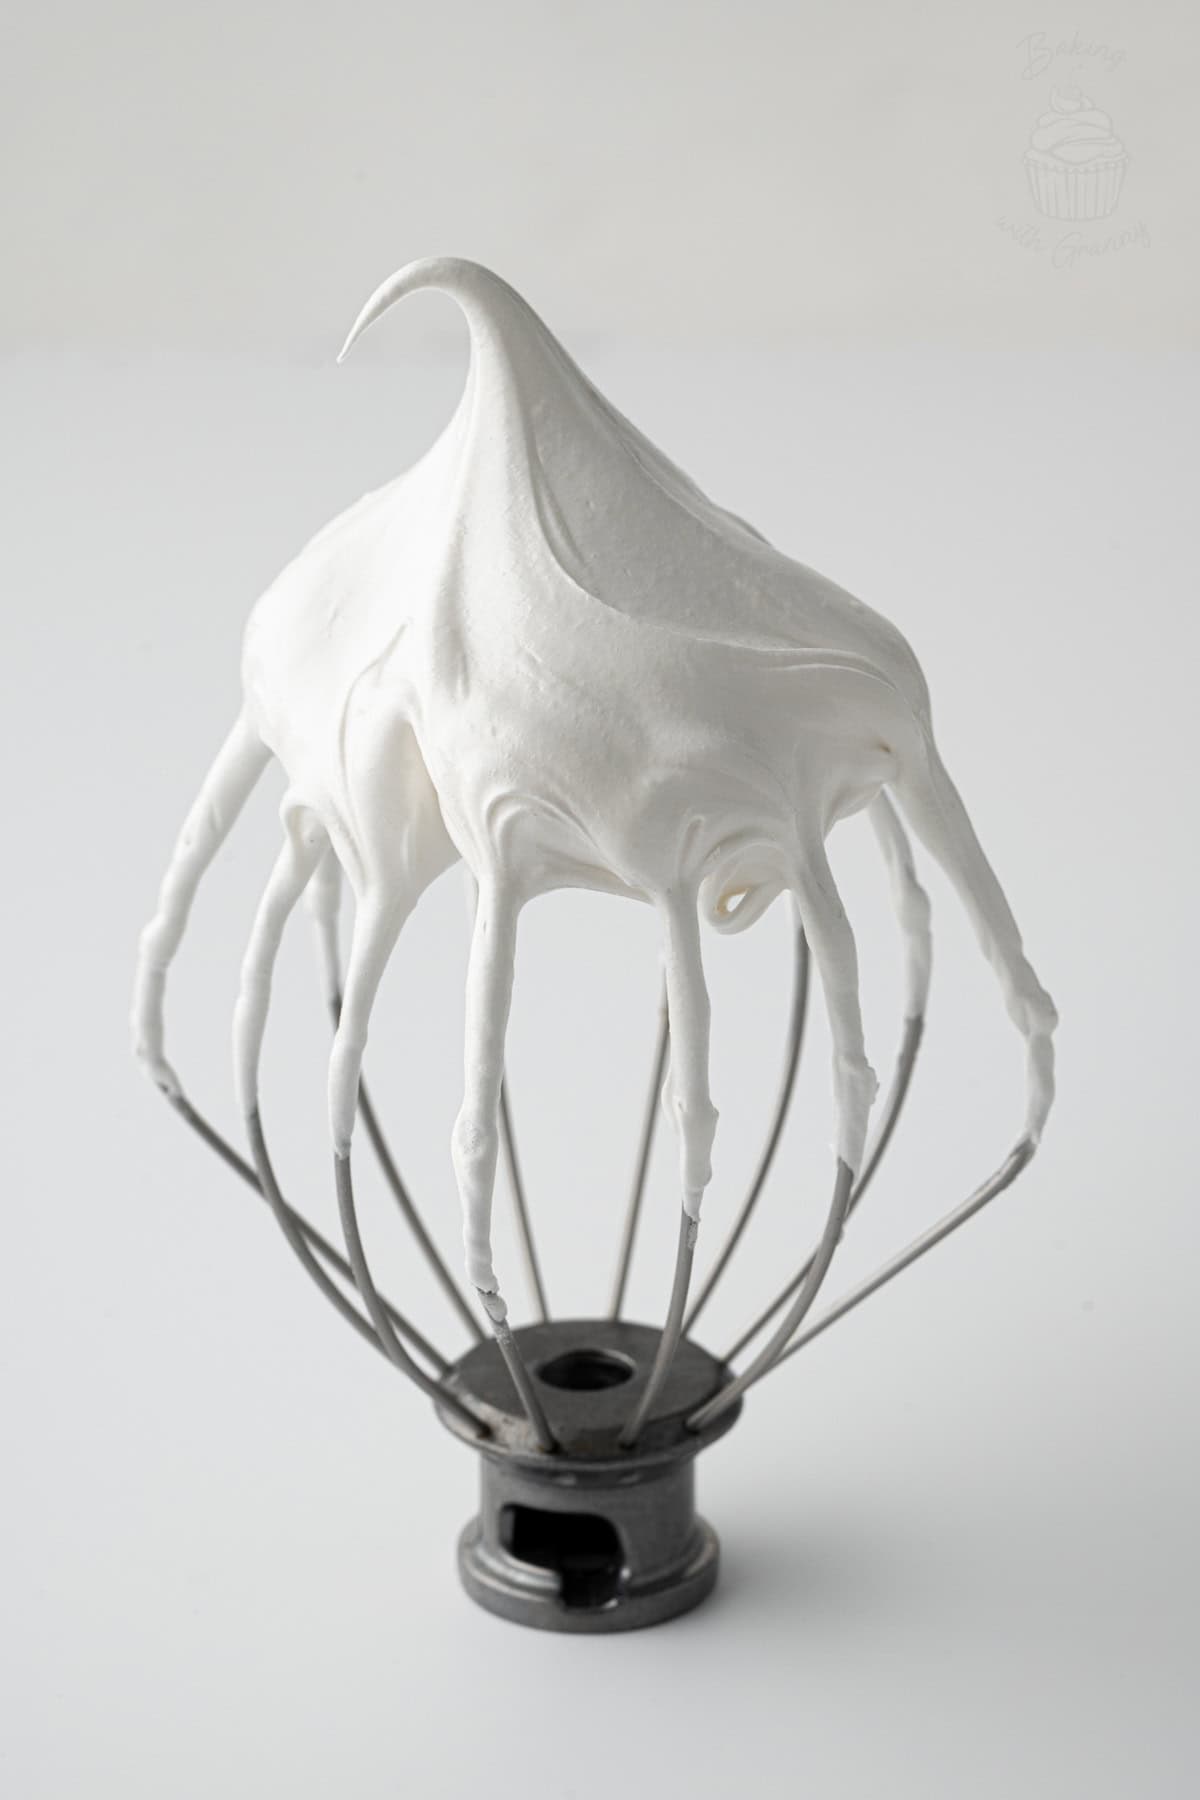
- Whisk the meringue: In a completely clean, grease-free bowl, whisk the egg whites until they form soft peaks. Continue whisking while adding the caster sugar a spoonful at a time. Once all the sugar has been added, the meringue should be thick, glossy and hold stiff peaks. Add the cornflour and whisk for a further 30 seconds.
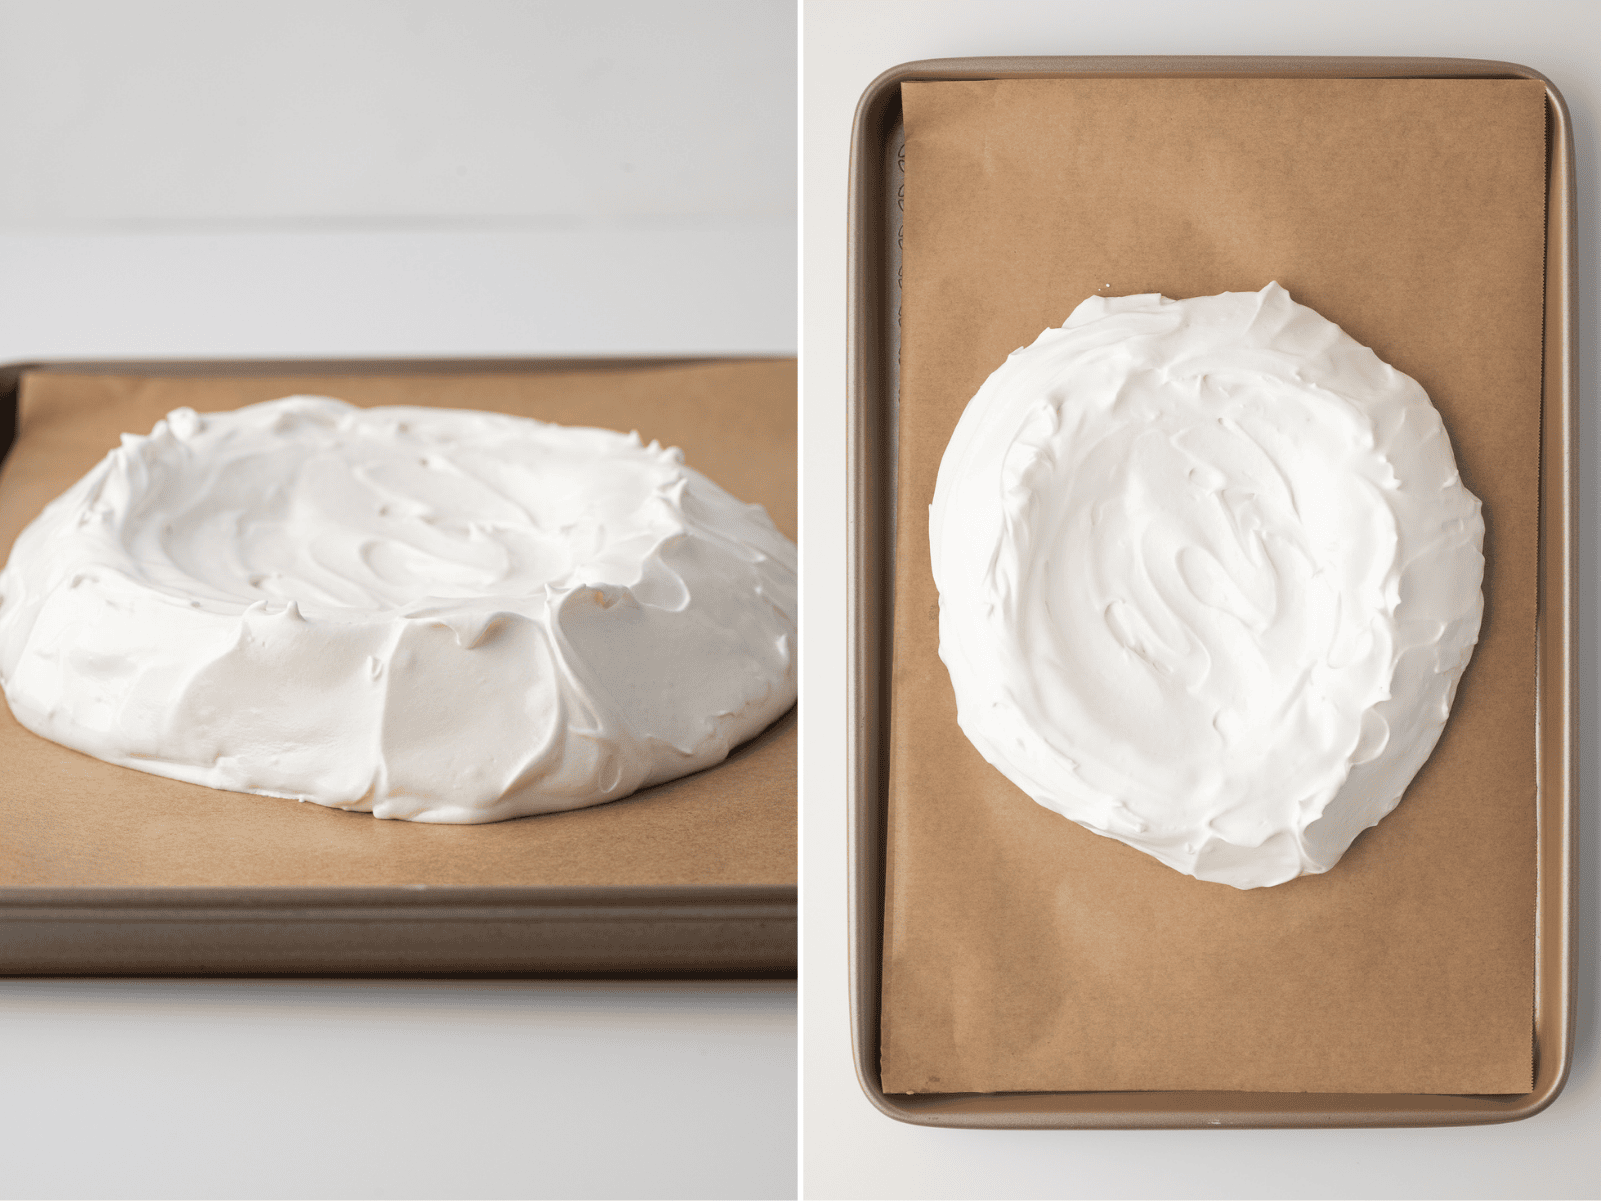
- Shape the Pavlova: Spoon the meringue onto a lined baking sheet, aiming for a 20-23cm (8-9 inch) circle. Keep some height in the meringue and use the back of a spoon to create a shallow dip in the centre for the cream and fruit.
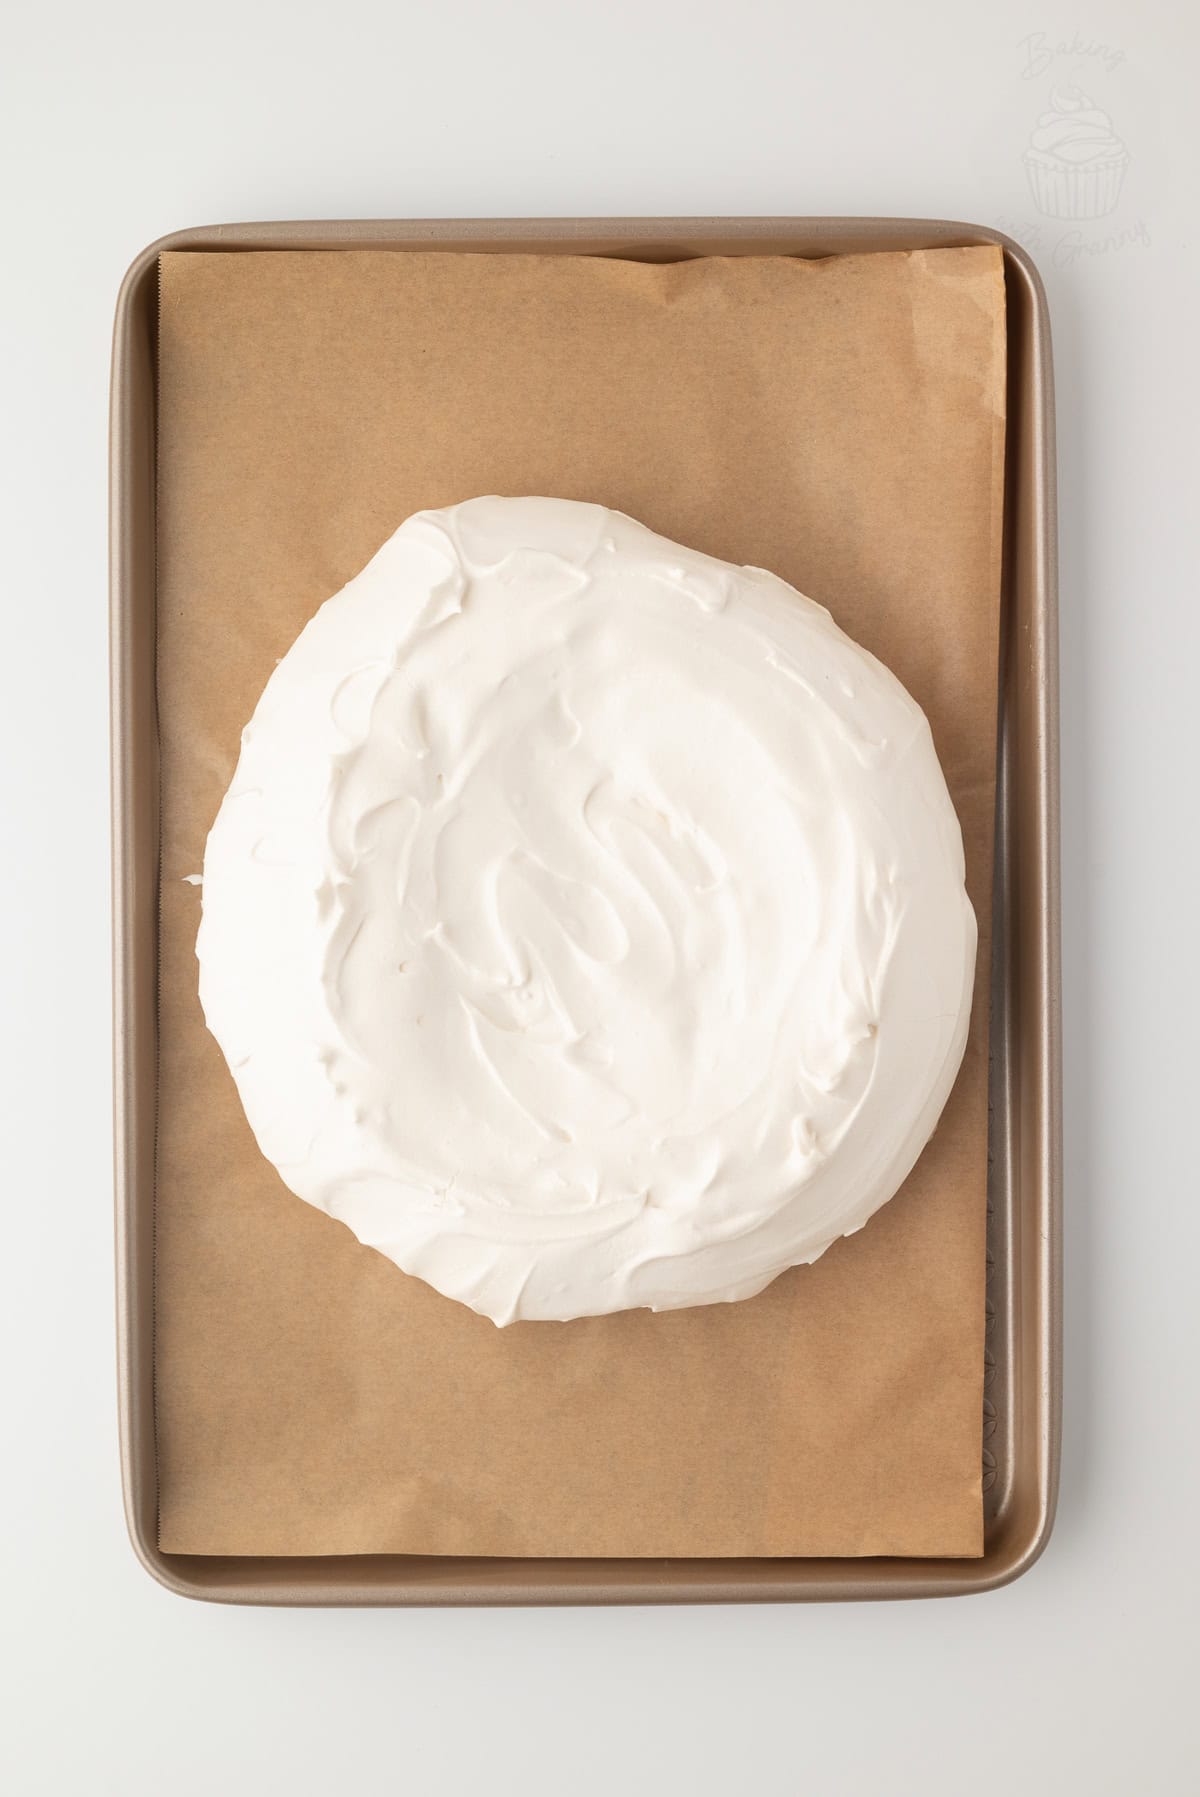
- Bake and cool: Bake for 1½ hours at 110°C (100°C fan-assisted, Gas Mark ¼ or 230°F), until the outside looks firm, dry and slightly off-white. Switch the oven off and leave the Pavlova inside, with the door closed, until completely cool. Gradual cooling in the oven helps prevent cracking.
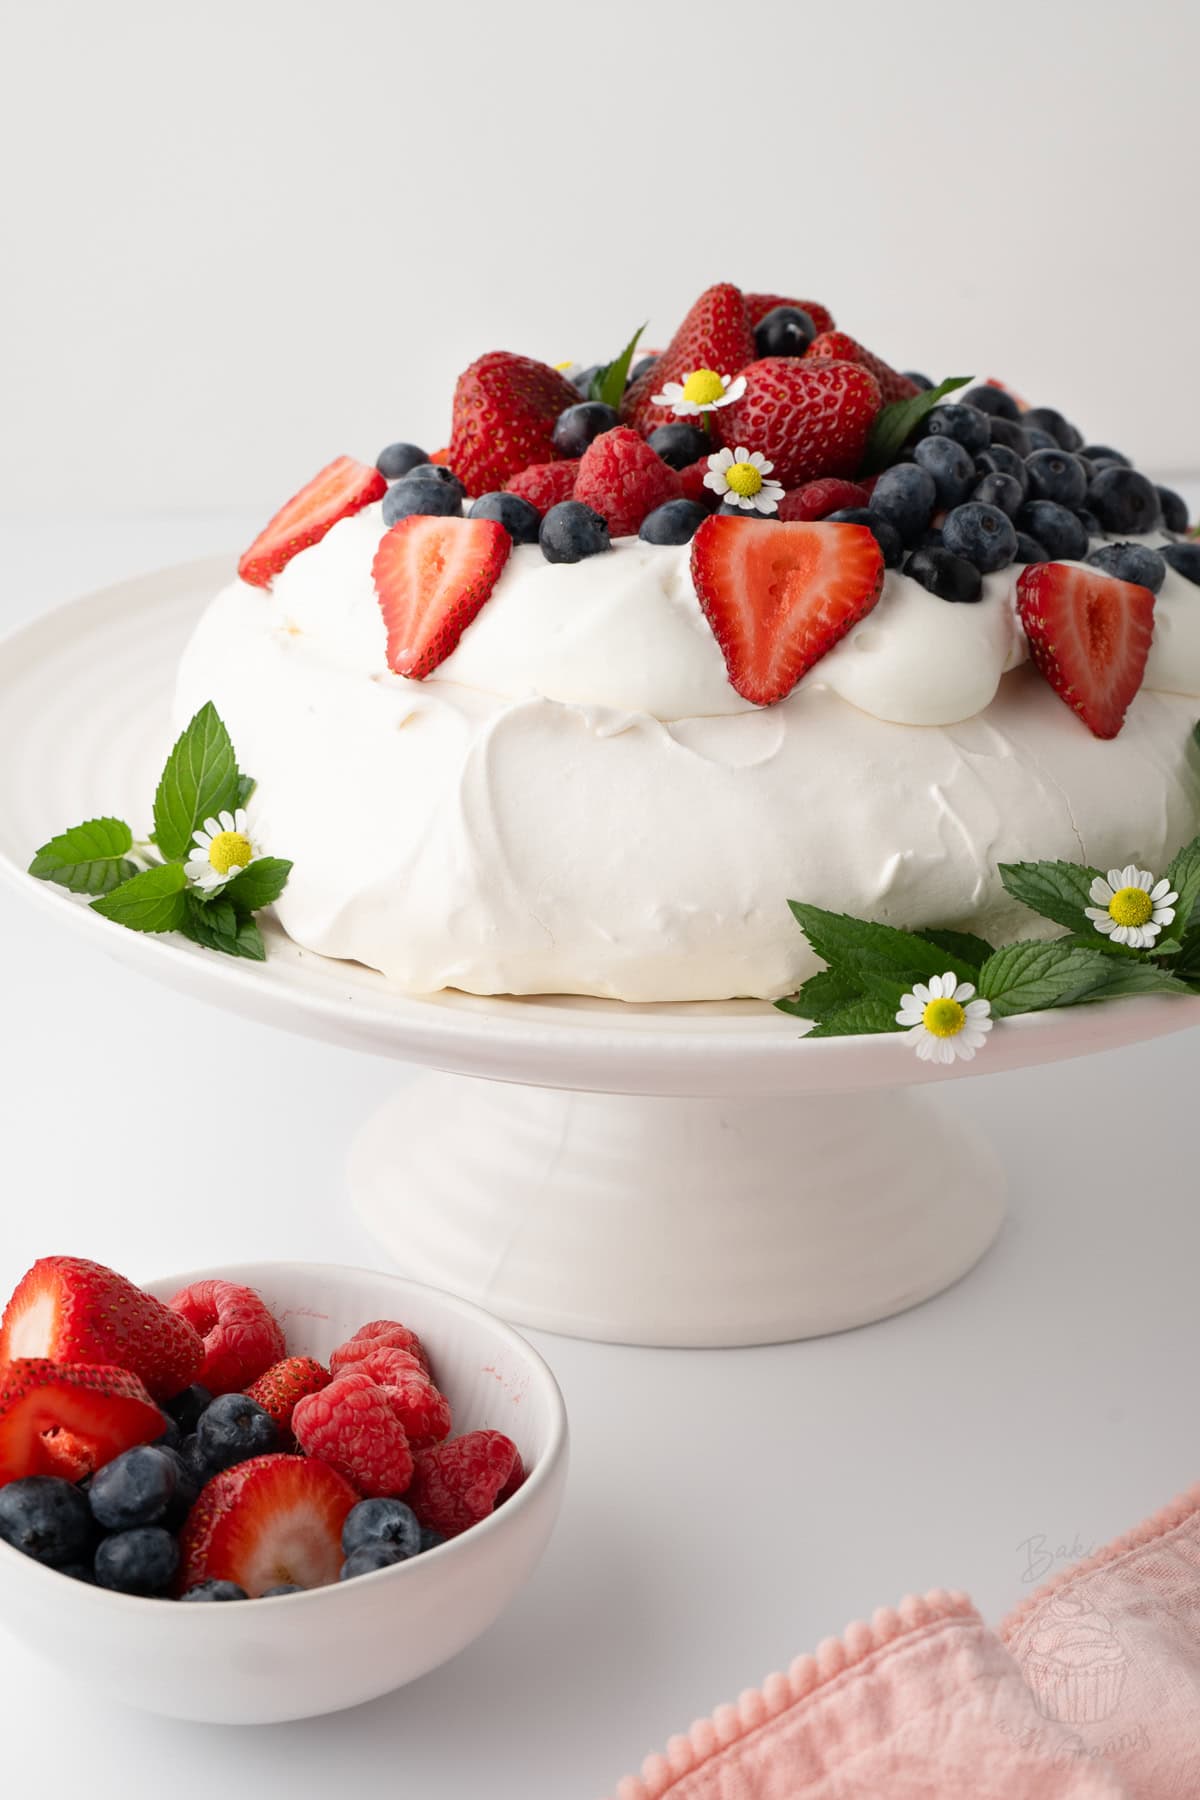
- Decorate: Carefully peel away the greaseproof paper, using a palette knife to help if it sticks underneath. Whip the cream and icing sugar to soft peaks, spoon it over the Pavlova and finish with your fresh fruit.
Top Tips for making Pavlova
- Keep Everything Grease-free: Just like with my Scottish Japs and classic Meringues, even a little grease or egg yolk can stop your egg whites from whisking properly, so make sure your bowl and whisk are completely clean before you start.
- Add the Sugar Gradually: Don’t rush it! Add the caster sugar a spoonful at a time while continuing to whisk, until the meringue is thick, glossy and holds stiff peaks.
- Let it Cool Slowly: Once baked, switch the oven off and leave the Pavlova inside with the door closed until completely cool, if you can. A sudden change in temperature is what tends to cause cracks.
- Don’t Panic About Cracks: Even with careful cooling, you may still get the odd crack. It won’t affect the taste, and once the Pavlova is covered with cream and fruit, nobody will even know anyway!
- Watch the Weather: Meringue can be temperamental on damp or humid days. I remember my Mum getting very frustrated when baking meringues in warm, muggy weather – moisture in the air can make them much harder to work with.
- Know What Baked Looks Like: The outside should look firm, dry and slightly off-white. If it’s underbaked, the middle will simply be softer and chewier. If you bake it too long, it will become drier inside and may take on a slightly creamier colour.
Make Ahead, Storage & Freezing
- Make Ahead: You can make the meringue base ahead of time. Once completely cool, keep it in an airtight container at room temperature until you’re ready to decorate. Don’t add the cream and fruit until the day you plan to serve it, as the moisture in them will gradually soften the meringue.
- Storage: Once topped, Pavlova is best eaten on the same day. Leftovers can be kept in the fridge overnight, but the meringue will become softer and less crisp as it absorbs moisture from the cream and fruit.
- Freezing: Although plain meringues can technically be frozen, I don’t really recommend it – keeping moisture away from them as they defrost can be a bit of a faff. Stored properly at room temperature, meringues keep very well anyway, so there’s little need to freeze your Pavlova base.
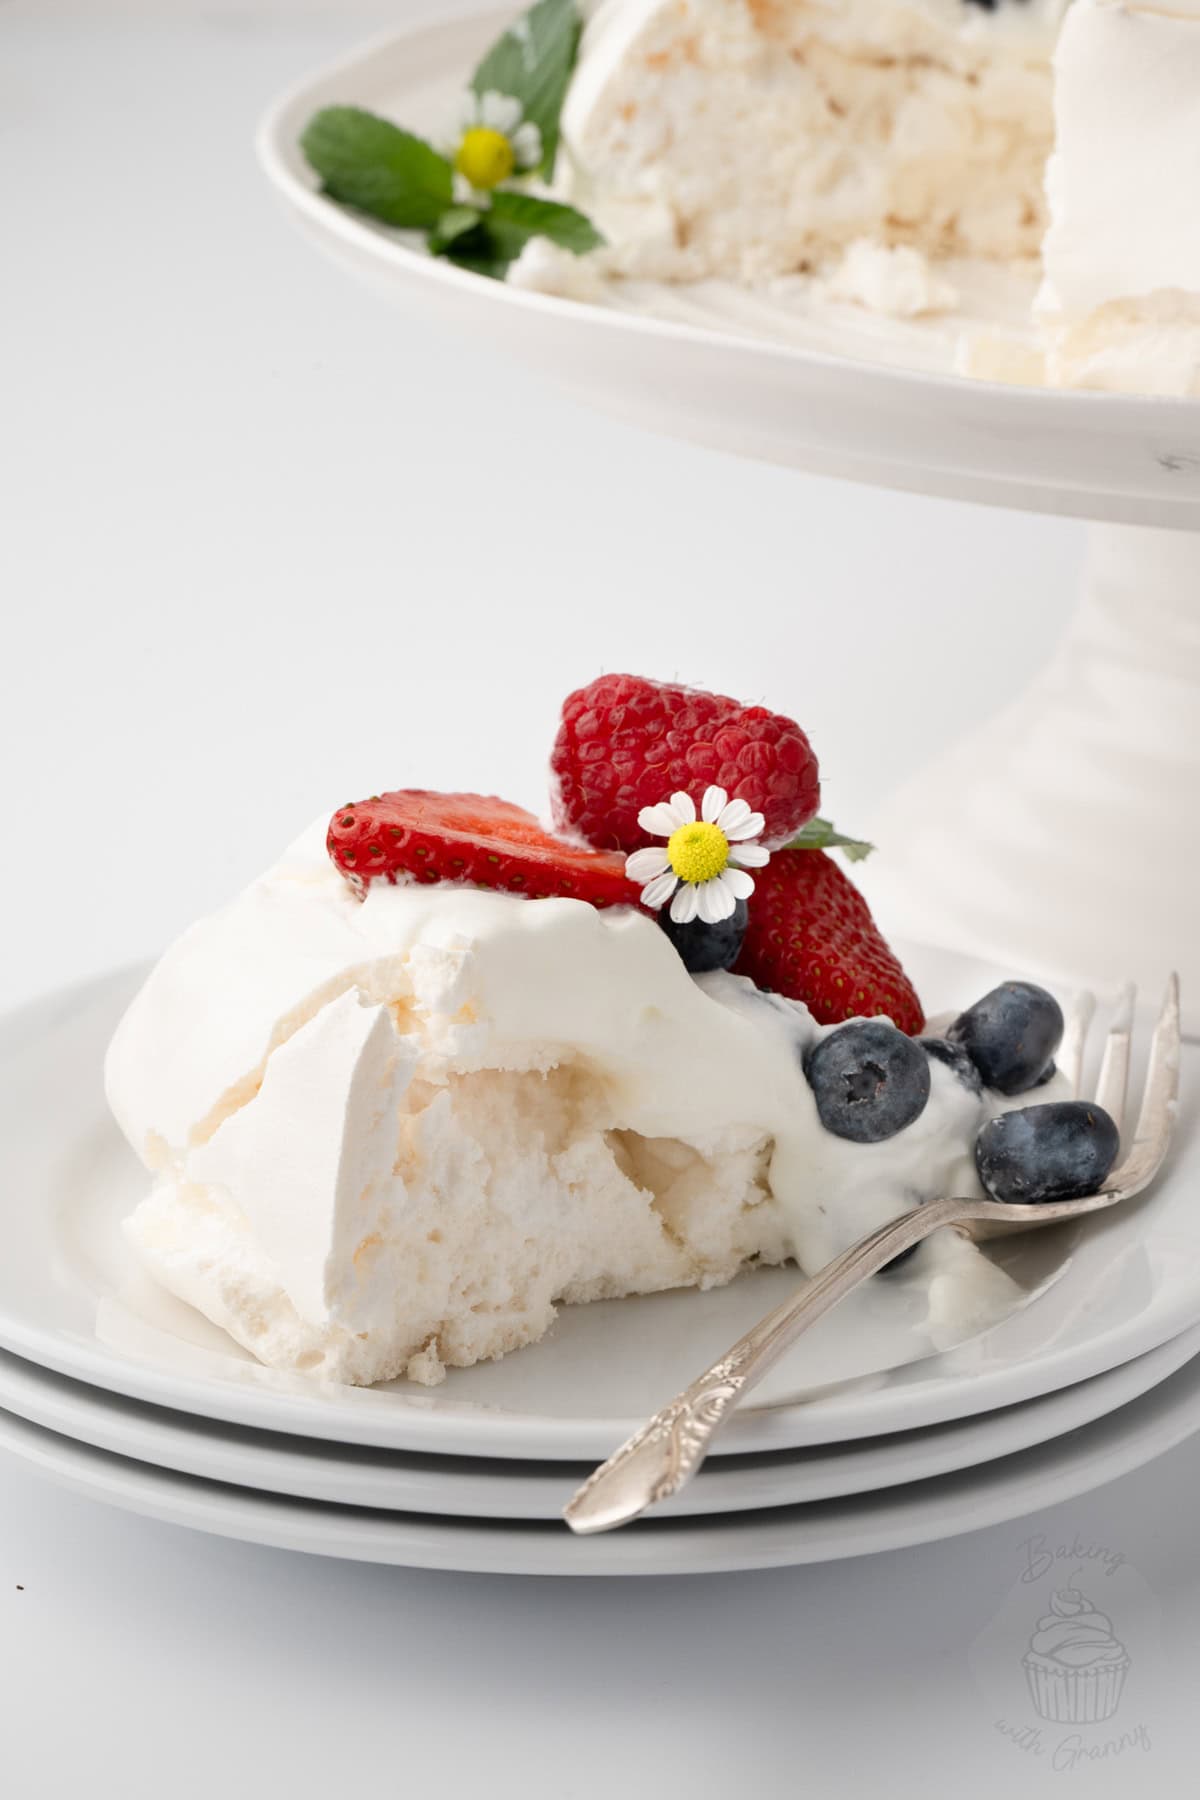
Thank you to Naomi Seiler for creating these photos.
Pavlova FAQs
Cracks are usually caused by a sudden change in temperature. Once the Pavlova has finished baking, switch the oven off and leave it inside with the door closed until completely cool (if possible). That said, the odd crack really isn’t a disaster – once you add the cream and fruit, nobody will even know!
The outside should look firm, dry and slightly off-white after baking. You don’t need to poke, lift or test it – just switch the oven off and leave it to cool gradually inside. The middle will stay soft, sticky and marshmallow-like rather than becoming completely crisp.
That’s exactly how it should be! Pavlova is different from a fully crisp meringue because the centre is deliberately kept soft, sticky and marshmallow-like, with a little chew. If you bake it for longer, the middle will become drier and less chewy, if that’s what you prefer.
Not for this recipe. I’ve never used acid in my meringues, and neither did my Mum during her years working in a bakery and supplying bakes to cafes. Vinegar, lemon juice or cream of tartar can be used to help stabilise meringue, but I’ve always found that properly whisked egg whites, gradually added caster sugar and sometimes a little cornflour give me the results I’m looking for.
Fresh fruit is best for topping Pavlova, as frozen fruit releases quite a lot of moisture as it defrosts and can quickly soften the meringue. If you do want to use frozen fruit, I’d be more inclined to cook it down into a sauce or compote, let it cool completely, then spoon a little over the cream just before serving.
More Classic Desserts
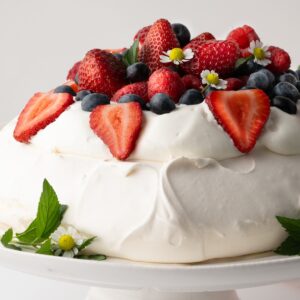
If you loved this classic Pavlova, here are some more of my favourite Dessert recipes for you to try next:
Pavlova
INGREDIENTS
For the Meringue
- 4 Free-range Egg Whites (whites only; see Egg Size note below)
- 200 g Caster Sugar
- 2 tsp Cornflour
For the Topping
- 300 ml Double Cream
- 3 tbsp Icing Sugar
- 200 g Strawberries (approx.; fresh; hulled & halved/quartered)
- 100 g Blueberries (approx.; fresh)
- 100 g Raspberries (approx.; fresh)
INSTRUCTIONS
For the Meringue
- Preheat your oven to 110°C (100°C for fan-assisted ovens, Gas Mark ¼ or 230°F). Line a
baking tray with somegreaseproof paper and set aside. - In your clean bowl, whisk your egg whites until they reach soft peaks. Using an electric hand whisk is preferable, as it ensures a steady whisking speed and takes less time, although whisking by hand is, of course, possible too.
- Once your egg whites have reached soft peaks, continue whisking while adding the sugar a spoonful at a time, ensuring each spoonful is mixed in before adding the next.
- As you add the sugar, you should see the mixture start to thicken and become a glossy white. Continue to mix until all the sugar is added and the mixture has reached stiff peaks. Once the mixture has reached stiff peaks, add the cornflour and mix for an additional 30 seconds.
- Spoon the meringue mixture onto your pre-lined
baking tray and spread it into a circle of your desired size – around 20-23cm (8-9 inches) is perfect. Be careful not to flatten the mixture too much, aiming for more of a dome. Using the back of a spoon, create a dip towards the centre of the meringue circle (this will help hold the cream and fruit later). - Place the meringue into your preheated oven and bake for 1½ hours, switching off the oven when your meringue appears firm and dry.
- After your baking time, switch the oven off and leave the meringue in the oven. Allow it to cool in the oven before removing it – this helps prevent the meringue from cracking due to the sudden change in temperature outside the oven.
For the Topping
- Once the meringue has completely cooled and is removed from the oven, prepare your cream and fruit toppings. In a large bowl, whisk the cream and icing sugar until soft peaks form.
- Spoon the cream mixture onto the top of your pavlova meringue (don't worry if the meringue cracks and the cream falls in – no one will know!). Top with fresh fruit to finish.
IMPORTANT NOTE:
All my recipes are developed using a digital scale and the metric system (grams and millilitres). Cup measurements are available as a conversion but these, unfortunately, won’t always be as accurate. For best results, I always recommend baking with a digital scale.

ABOUT THE AUTHOR
Amy Reid
Amy Reid is an award-winning food blogger, mother, wife and cookbook author. Inspired by her childhood in the kitchen with her Mum – a professional baker and her children’s Granny – Amy now shares her tried-and-tested traditional home baking recipes with bakers of all abilities around the world. She lives in Scotland with her husband, two sons and her small pack of Siberian huskies.