
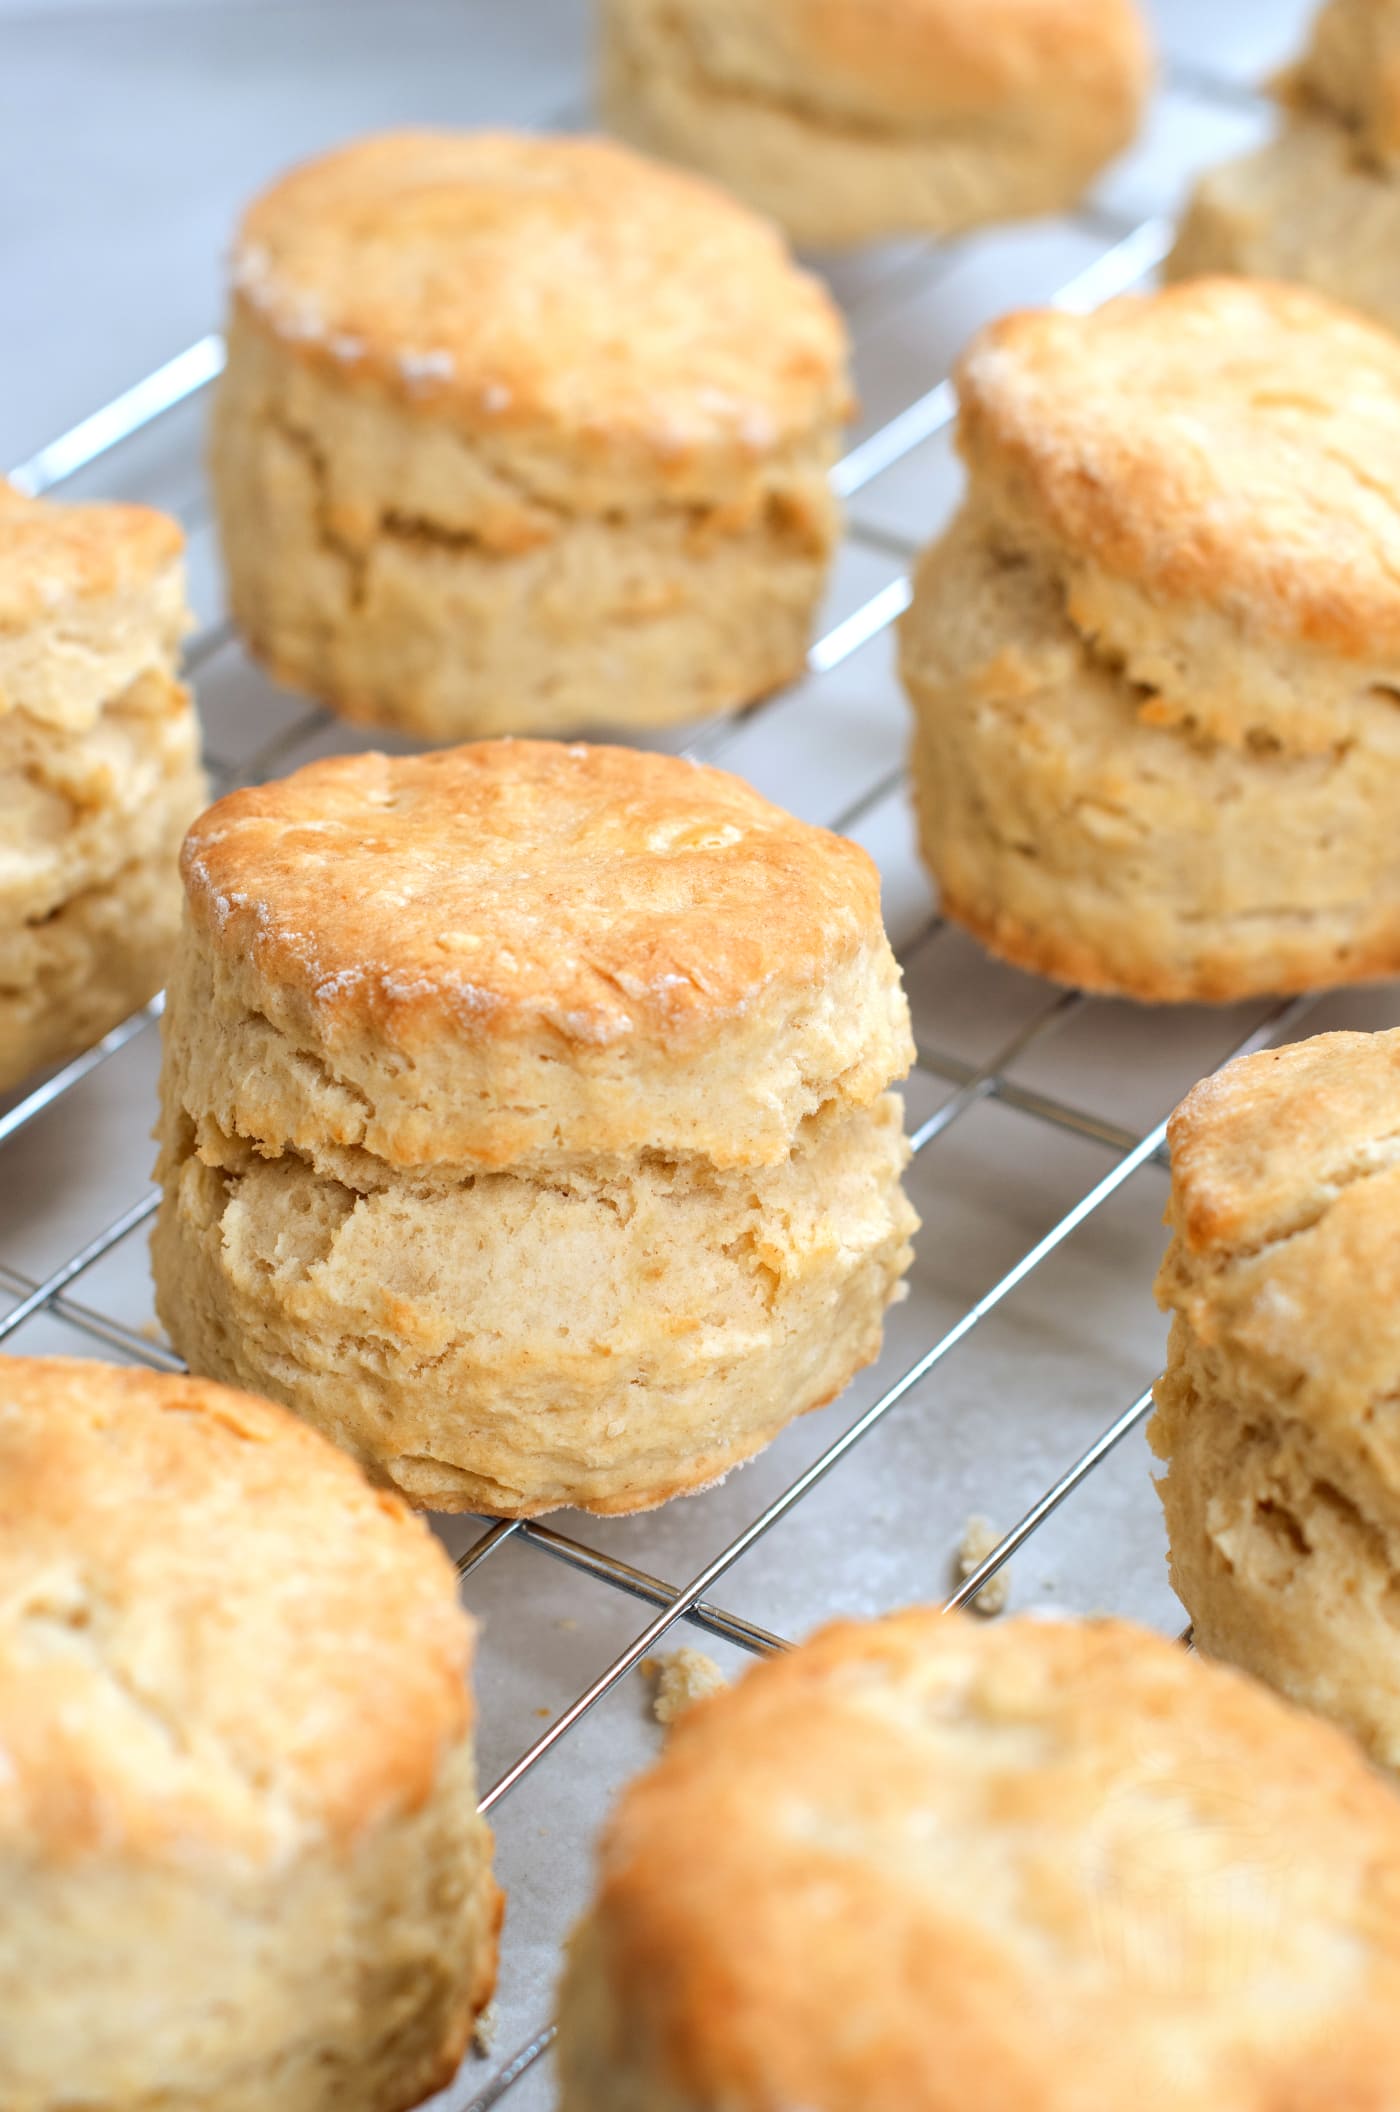
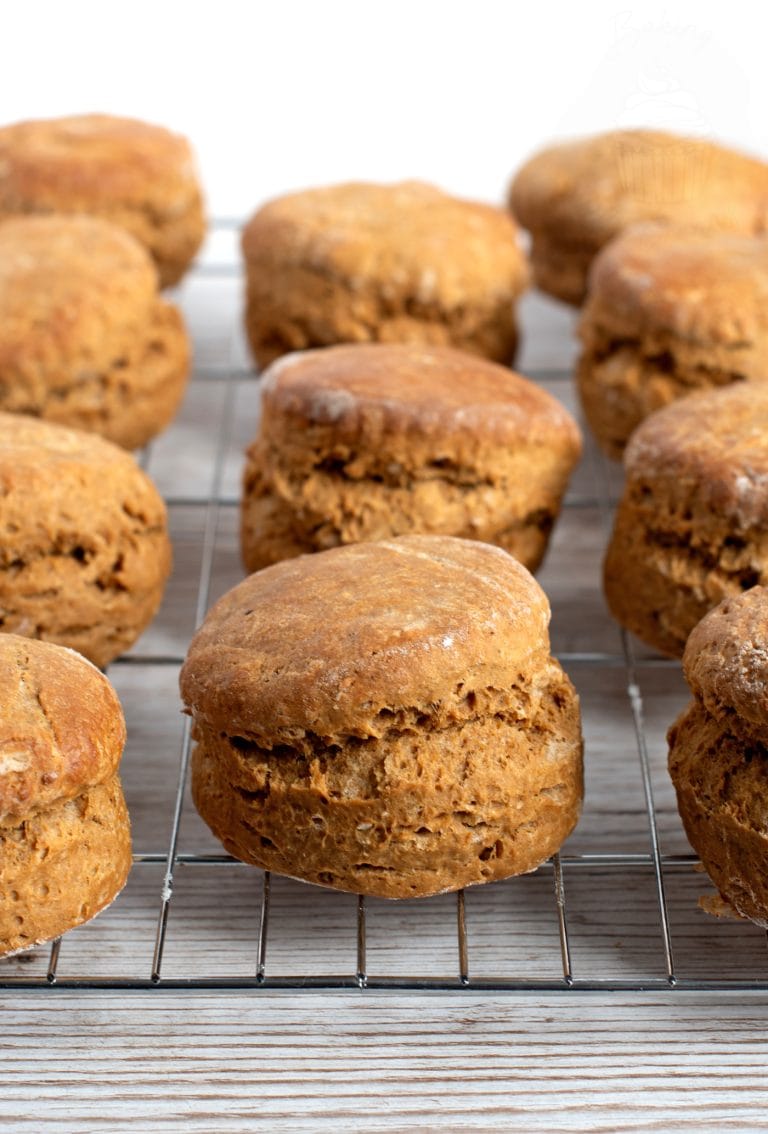
Plain Scones
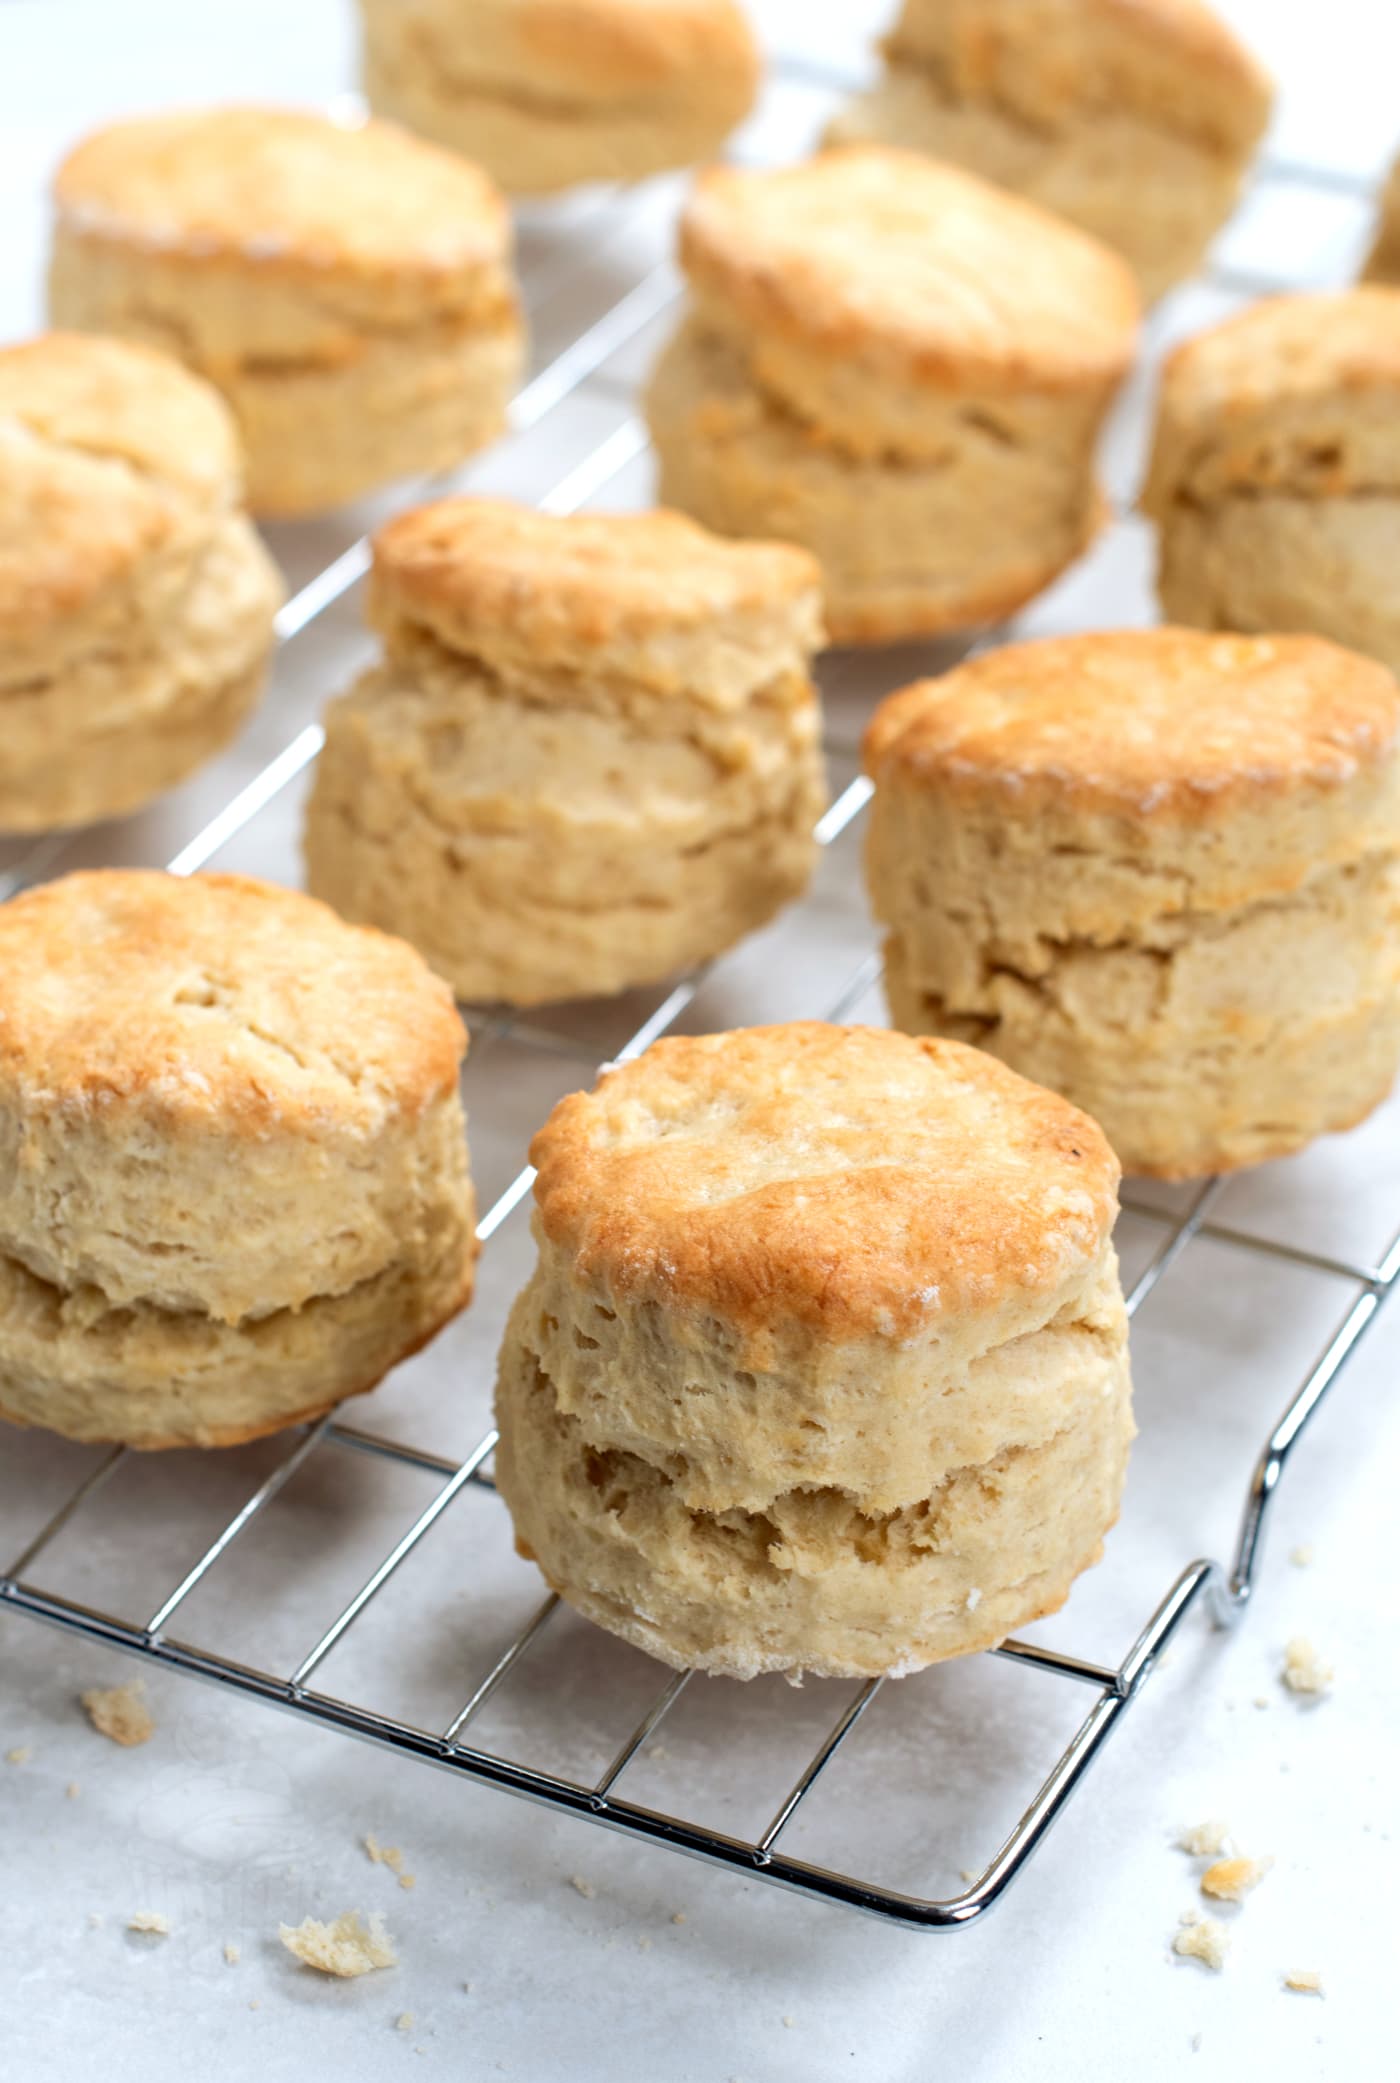
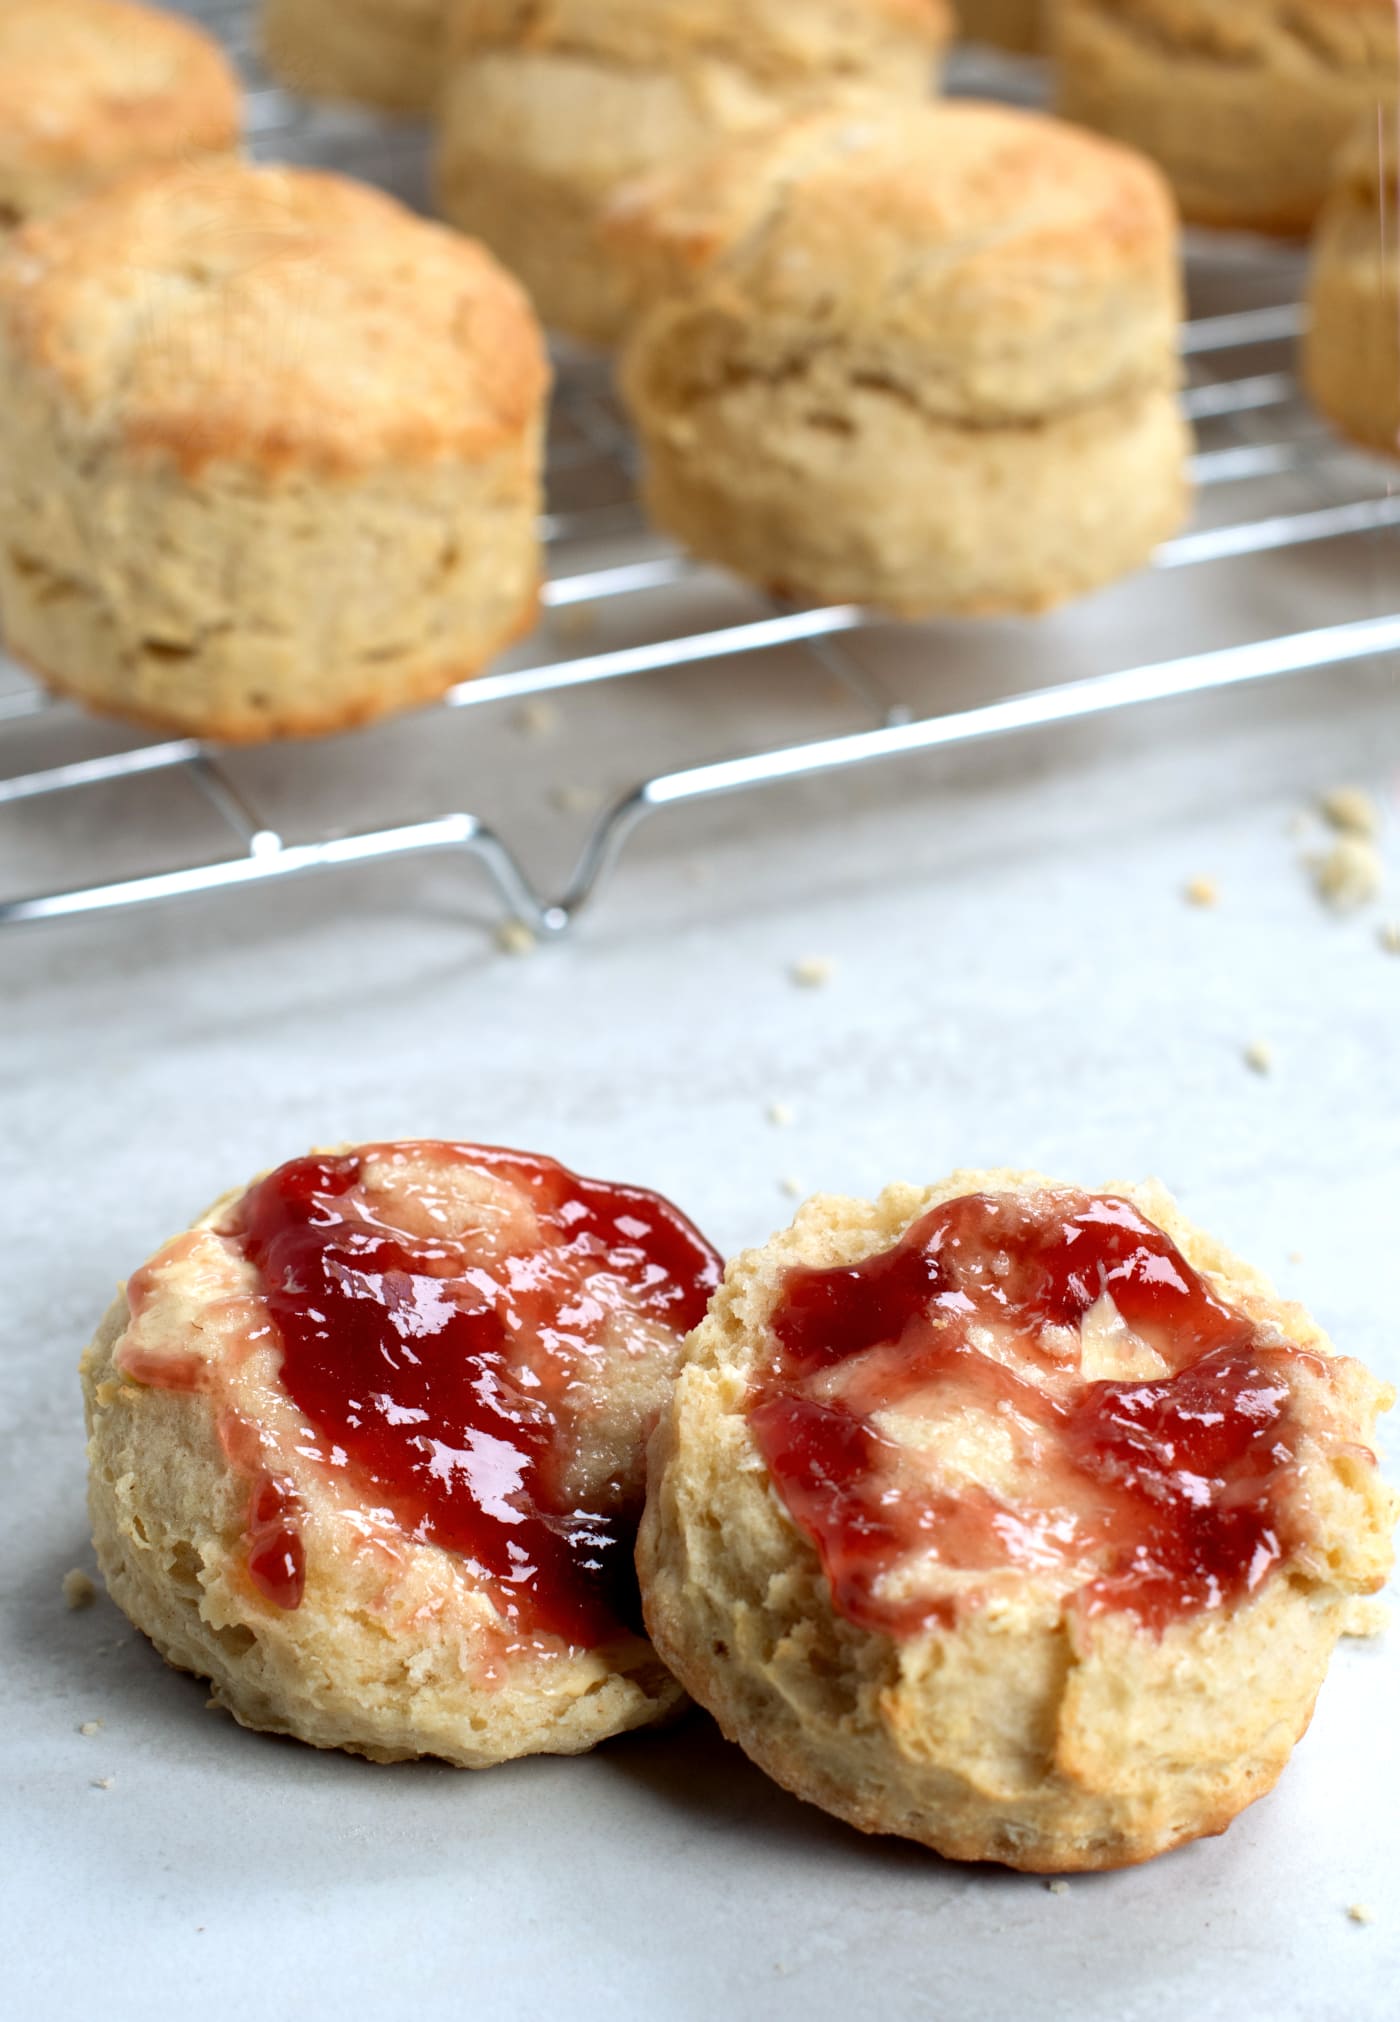
Soft, light and wonderfully simple, these Plain Scones are a true British baking classic. Made with just a handful of ingredients, they’re perfect served warm with butter, jam, or clotted cream. If you’re looking for an easy, traditional scone recipe, this one is as reliable as it gets.
My Mum has always had a knack for scones. I can still remember when we had visitors when I was a kid – Mum would be in the kitchen whipping up a batch of homemade plain scones in no time at all. The recipe was always straight from memory, too. No scales, no measuring cups… just a handful of this and a splash of that, yet they always turned out perfectly.
In theory, scones are one of the easiest things you can bake. They use simple ingredients and come together quickly, making them a staple of traditional British baking. But in practice, getting them light, soft and well-risen can take a little bit of practice. Don’t worry, though – I’ve included all of my best tips below to help you master the perfect plain scone recipe.
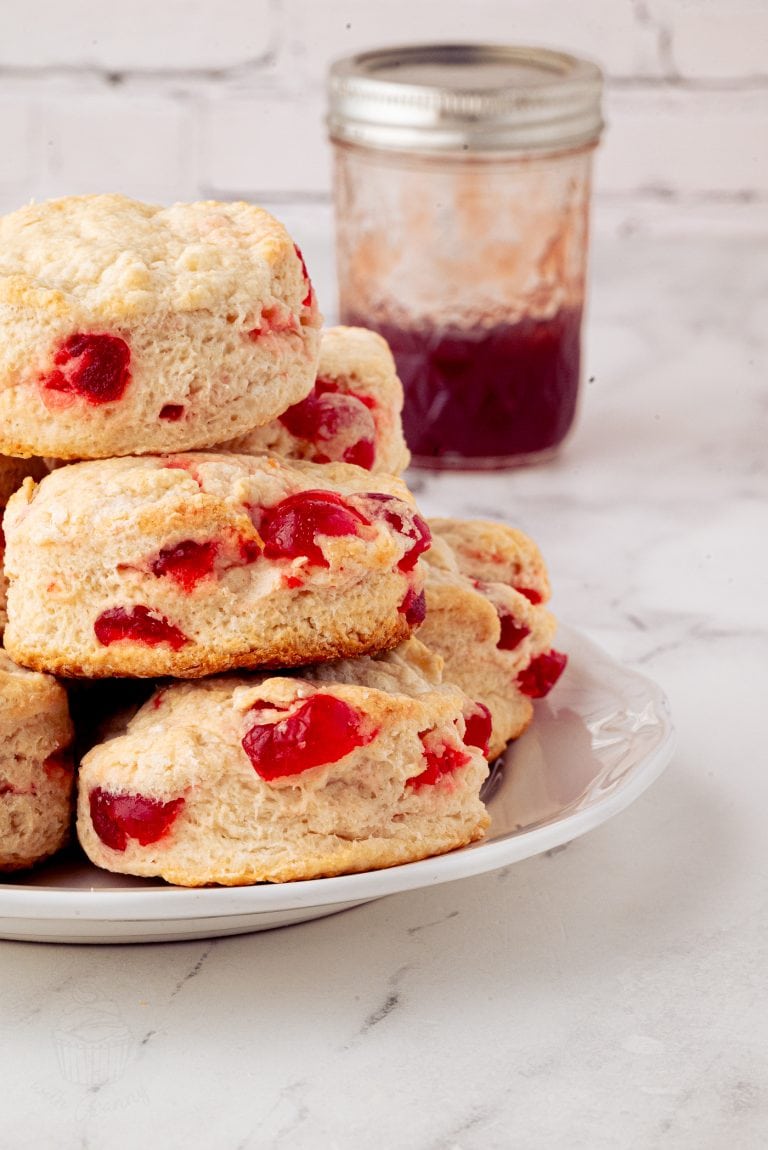
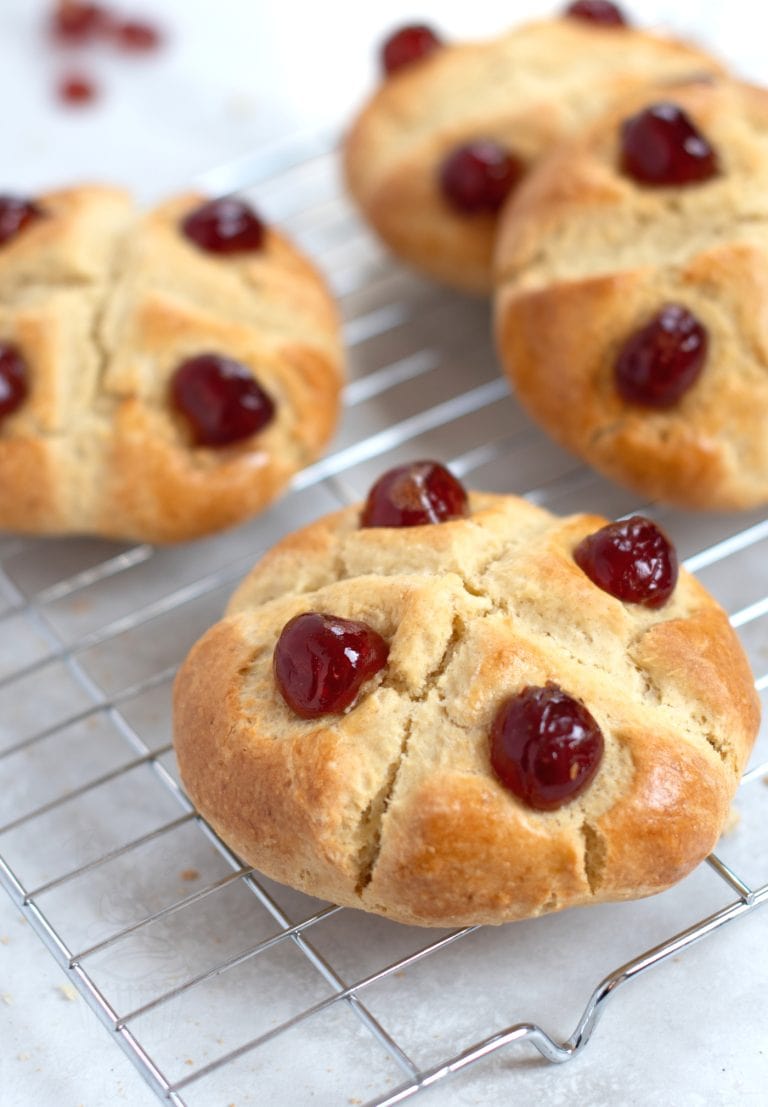
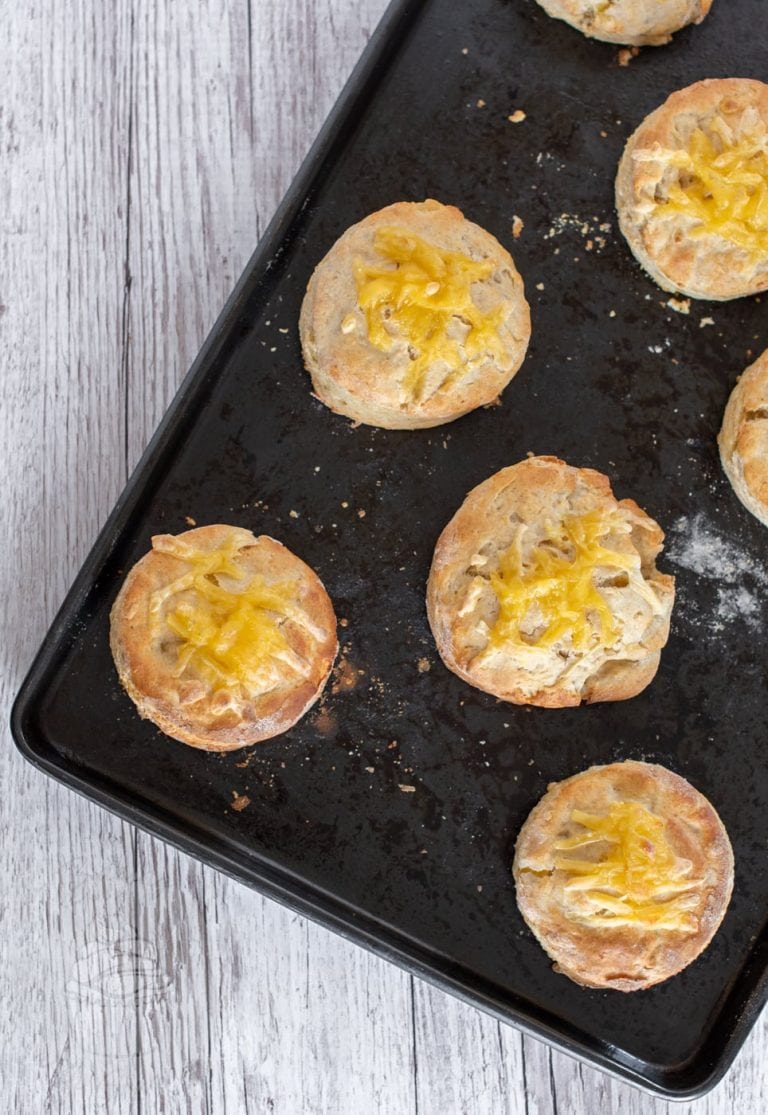
If you’re new to baking scones, Plain Scones are the ideal place to start. Once you’ve mastered the basics, you can easily adapt the dough to make all sorts of variations. On Baking with Granny, you’ll also find recipes for Fruit Scones, Cherry Scones, Blueberry Scones, and Cheese Scones, all based on the same simple method.
In fact, this was exactly how Mum used to do it. She would start with a plain scone dough, set aside a few simple ones for us fussy kids, then mix sultanas, cheese, or cherries into the rest of the dough for the grown-ups. One easy base recipe, but plenty of different scones to enjoy.
Ingredients for Plain Scones:
Self-raising Flour
Scones are naturally quite dense, but the raising agents in self-raising flour help give them their light, soft texture. As the name suggests, self-raising flour already contains a raising agent, making it ideal for quick bakes like scones. If you only have plain flour, you can add baking powder separately instead to create your own self-raising flour.
Baking Powder
Even though self-raising flour already contains a raising agent, a little baking powder gives scones an extra lift. Baking powder is a convenient blend of bicarbonate of soda and cream of tartar that helps create a lighter, better-risen scone.
Caster Sugar
Plain Scones fall into the category of “rich scones”, meaning they contain a little sugar and fat for flavour and texture. Caster sugar dissolves easily into the dough, giving a gentle sweetness without making the scones overly sugary.
Margarine or Butter
Butter gives the best flavour, but a good block margarine works just as well for texture. Whichever you use, it should be cold, so it can be rubbed into the flour to create a sand-like texture. These tiny pockets of fat melt as the scones bake, helping create a soft, fluffy crumb.
Milk
Milk brings the dough together and adds richness. Whole milk tends to give the best flavour, but any milk will work well, including dairy-free alternatives like soya milk.
Yoghurt
Yoghurt isn’t always used in traditional scone recipes, but it works wonderfully here. The acidity in the yoghurt reacts with the raising agents to help produce a lighter, softer scone. Plain yoghurt works best, but soya or coconut yoghurt is also a great option. Buttermilk or sour cream can be used in a similar way, too.
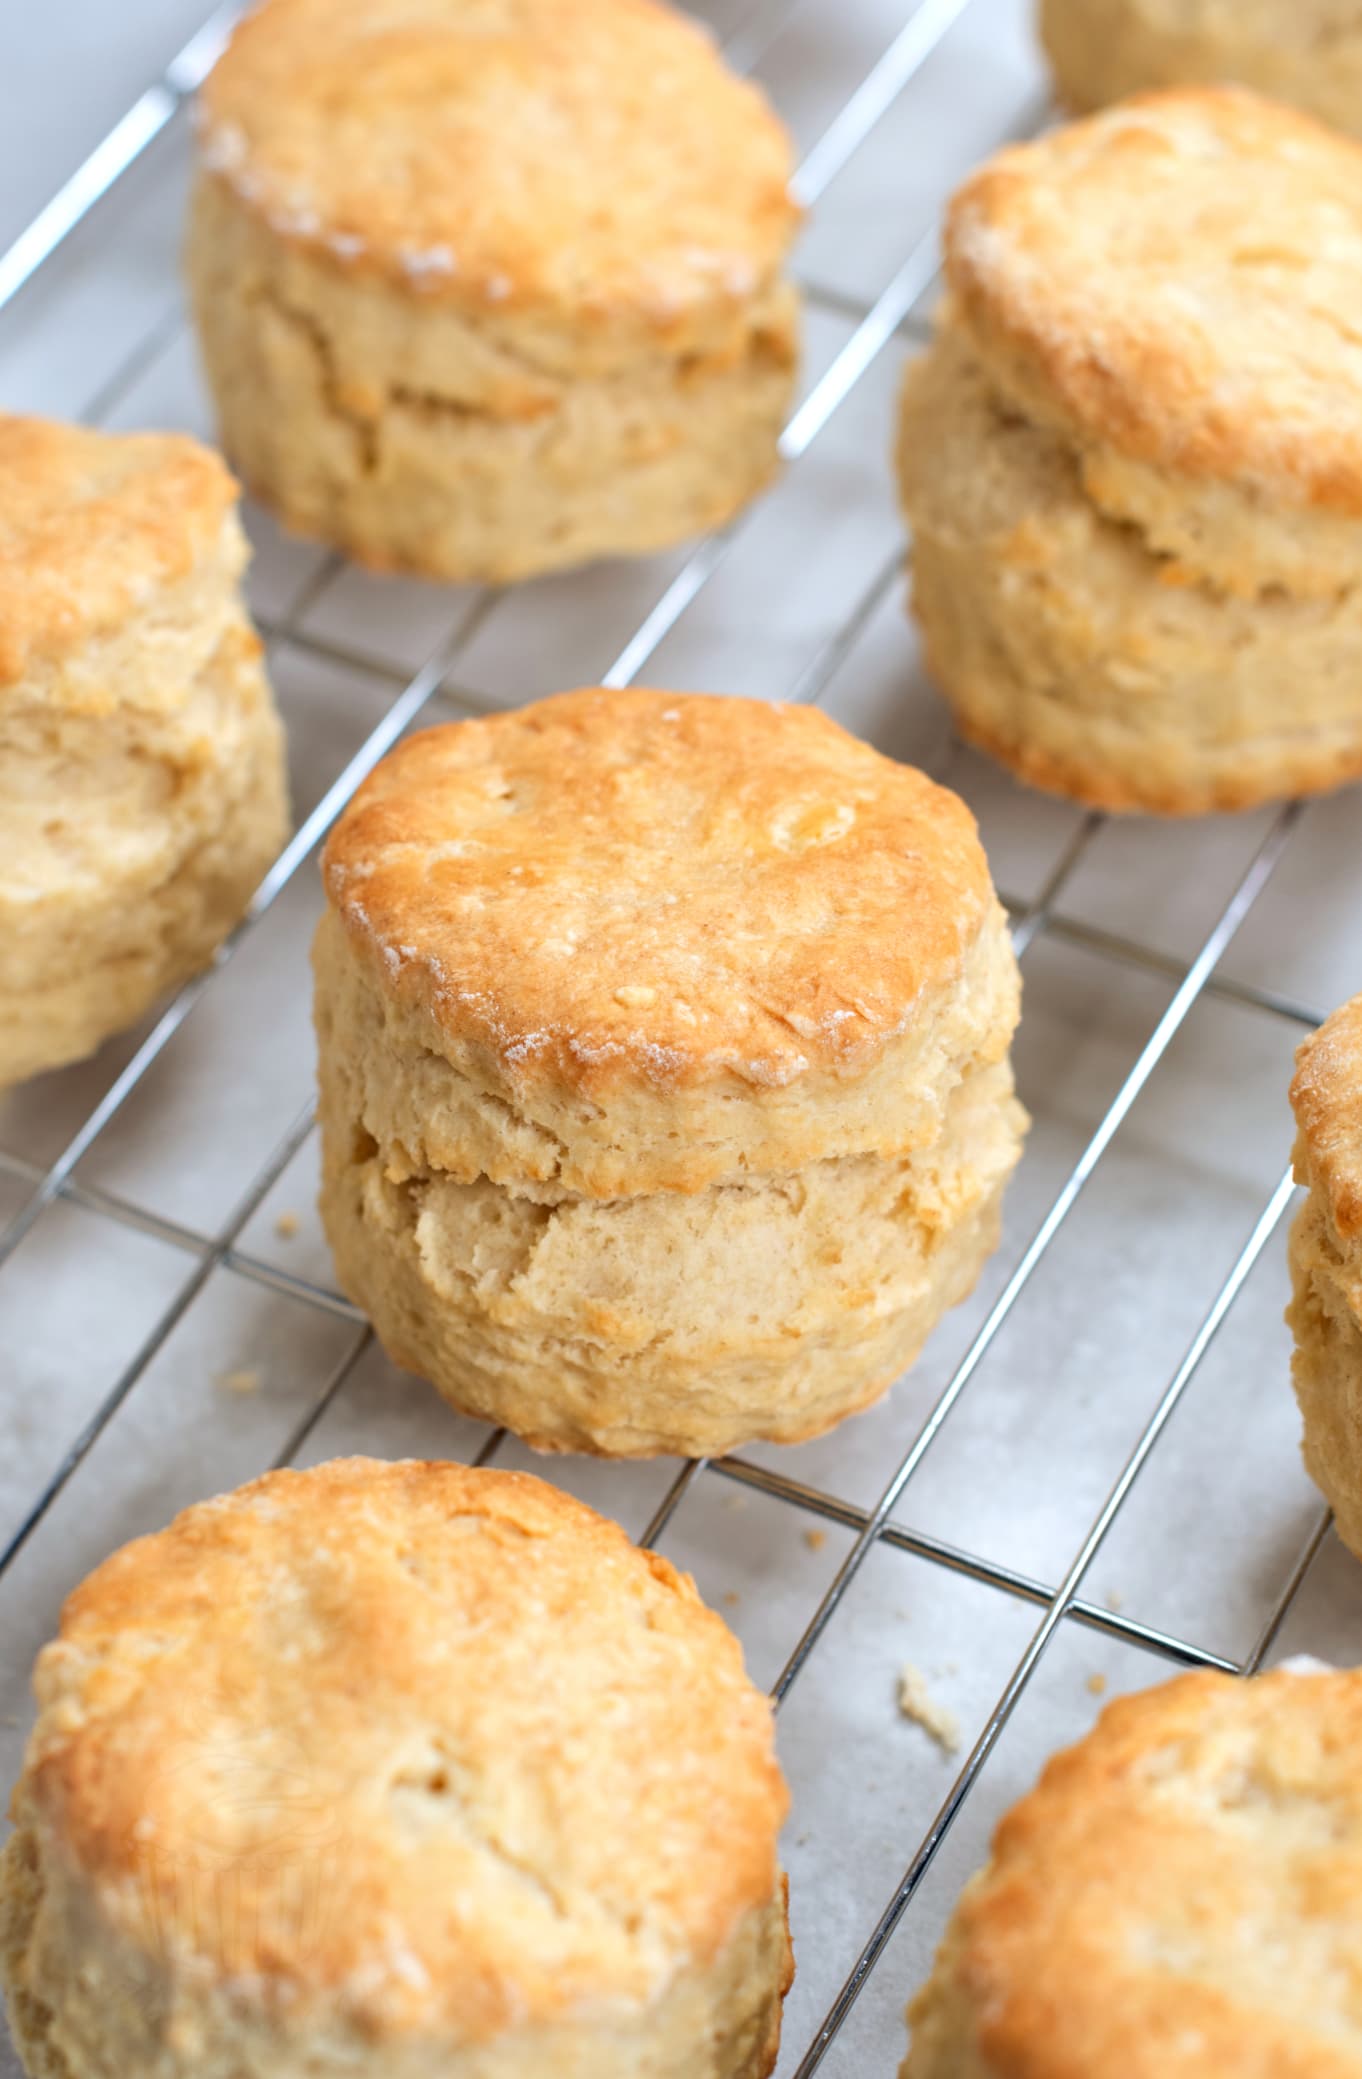
Tips for perfect Plain Scones:
• Cold Ingredients, Always: For great scones, you want cold ingredients and a hot oven. Use margarine/butter that is a little cold, and ensure you fully preheat your oven.
• Full of Air: Try to get as much air into your dough by sifting the dry ingredients from a bit of height and raising your fingers as you rub in the butter.
• Soft Hands: Scones require a soft touch, so don’t be too rough with your mixing and kneading.
• No Rolling Pins: Put down the rolling pin! Simply stretch out your dough with your hands. And always leave it a little thicker than you think you should.
• Don’t Twist it: When you cut your scones from the dough, DO NOT twist your cookie cutter. This will twist the edges of the dough and prevent them from rising as well. And by doing so, you will make Granny want to cry.
• Give it a Rest: Always leave your scones to rest before baking. This lets the gluten in the flour rest & calm down a little. 10 minutes is ideal, but if you can do longer, even better. I’ll usually do my dishes during this time.
• Let it Glaze: A beaten egg gives the best colour to scones when brushed on top, but milk is my personal preference. Just be careful that you don’t let it run down the sides of your scones or it could affect the rise.
More Scones You’ll Love:
• Classic Fruit Scones
• Savoury Cheese Scones
• Scottish Treacle Scones
• Victoria Scones
Save this recipe!
Want to save this recipe for later? Pop your email below and come back to it when you’re ready to bake.
Plain Scones
INGREDIENTS
- 450 g Self-raising Flour
- Pinch of Salt
- 2 tsp Baking Powder
- 50 g Block Margarine or Butter
- 50 g Caster Sugar (Superfine Sugar)
- 200 ml Milk
- 100 ml Plain Yoghurt (dairy, soya, coconut…)
EQUIPMENT
INSTRUCTIONS
- Pre-heat your oven to 220°c (200°c for fan assisted oven, Gas Mark 7 or 425°F). Grease two baking sheets with a little butter and set aside.
- Sift the flour, salt and baking powder into a large bowl, holding the sift up to allow some air into them. Gently stir in the sugar.
- Using the tips of your fingers, rub in the margarine/butter to the dry ingredients, again lifting as you do to allow air in. Continue until you have a sandy consistency.
- Create a well in the middle. Whisk the milk and yoghurt together before pouring into the well. Using your hands, gently bring the ingredients together to form a soft, slightly sticky dough.
- Turn out onto a floured work surface and gently knead together, before stretching the dough to about 2-3cm thickness.
- Using a cookie cutter of your choice, cut your scones out and place them onto your pre-greased baking sheets. The smaller your cutter the more scones you will get. Reform and stretch the dough as required to use all of the dough.
- Leave your scones to rest on the tray for about 10 minutes before brushing the tops with some extra milk.
- Bake in your pre-heated oven for 10 minutes. If you are making smaller scones, keep a close eye on them as you may need to reduce the baking time to suit.
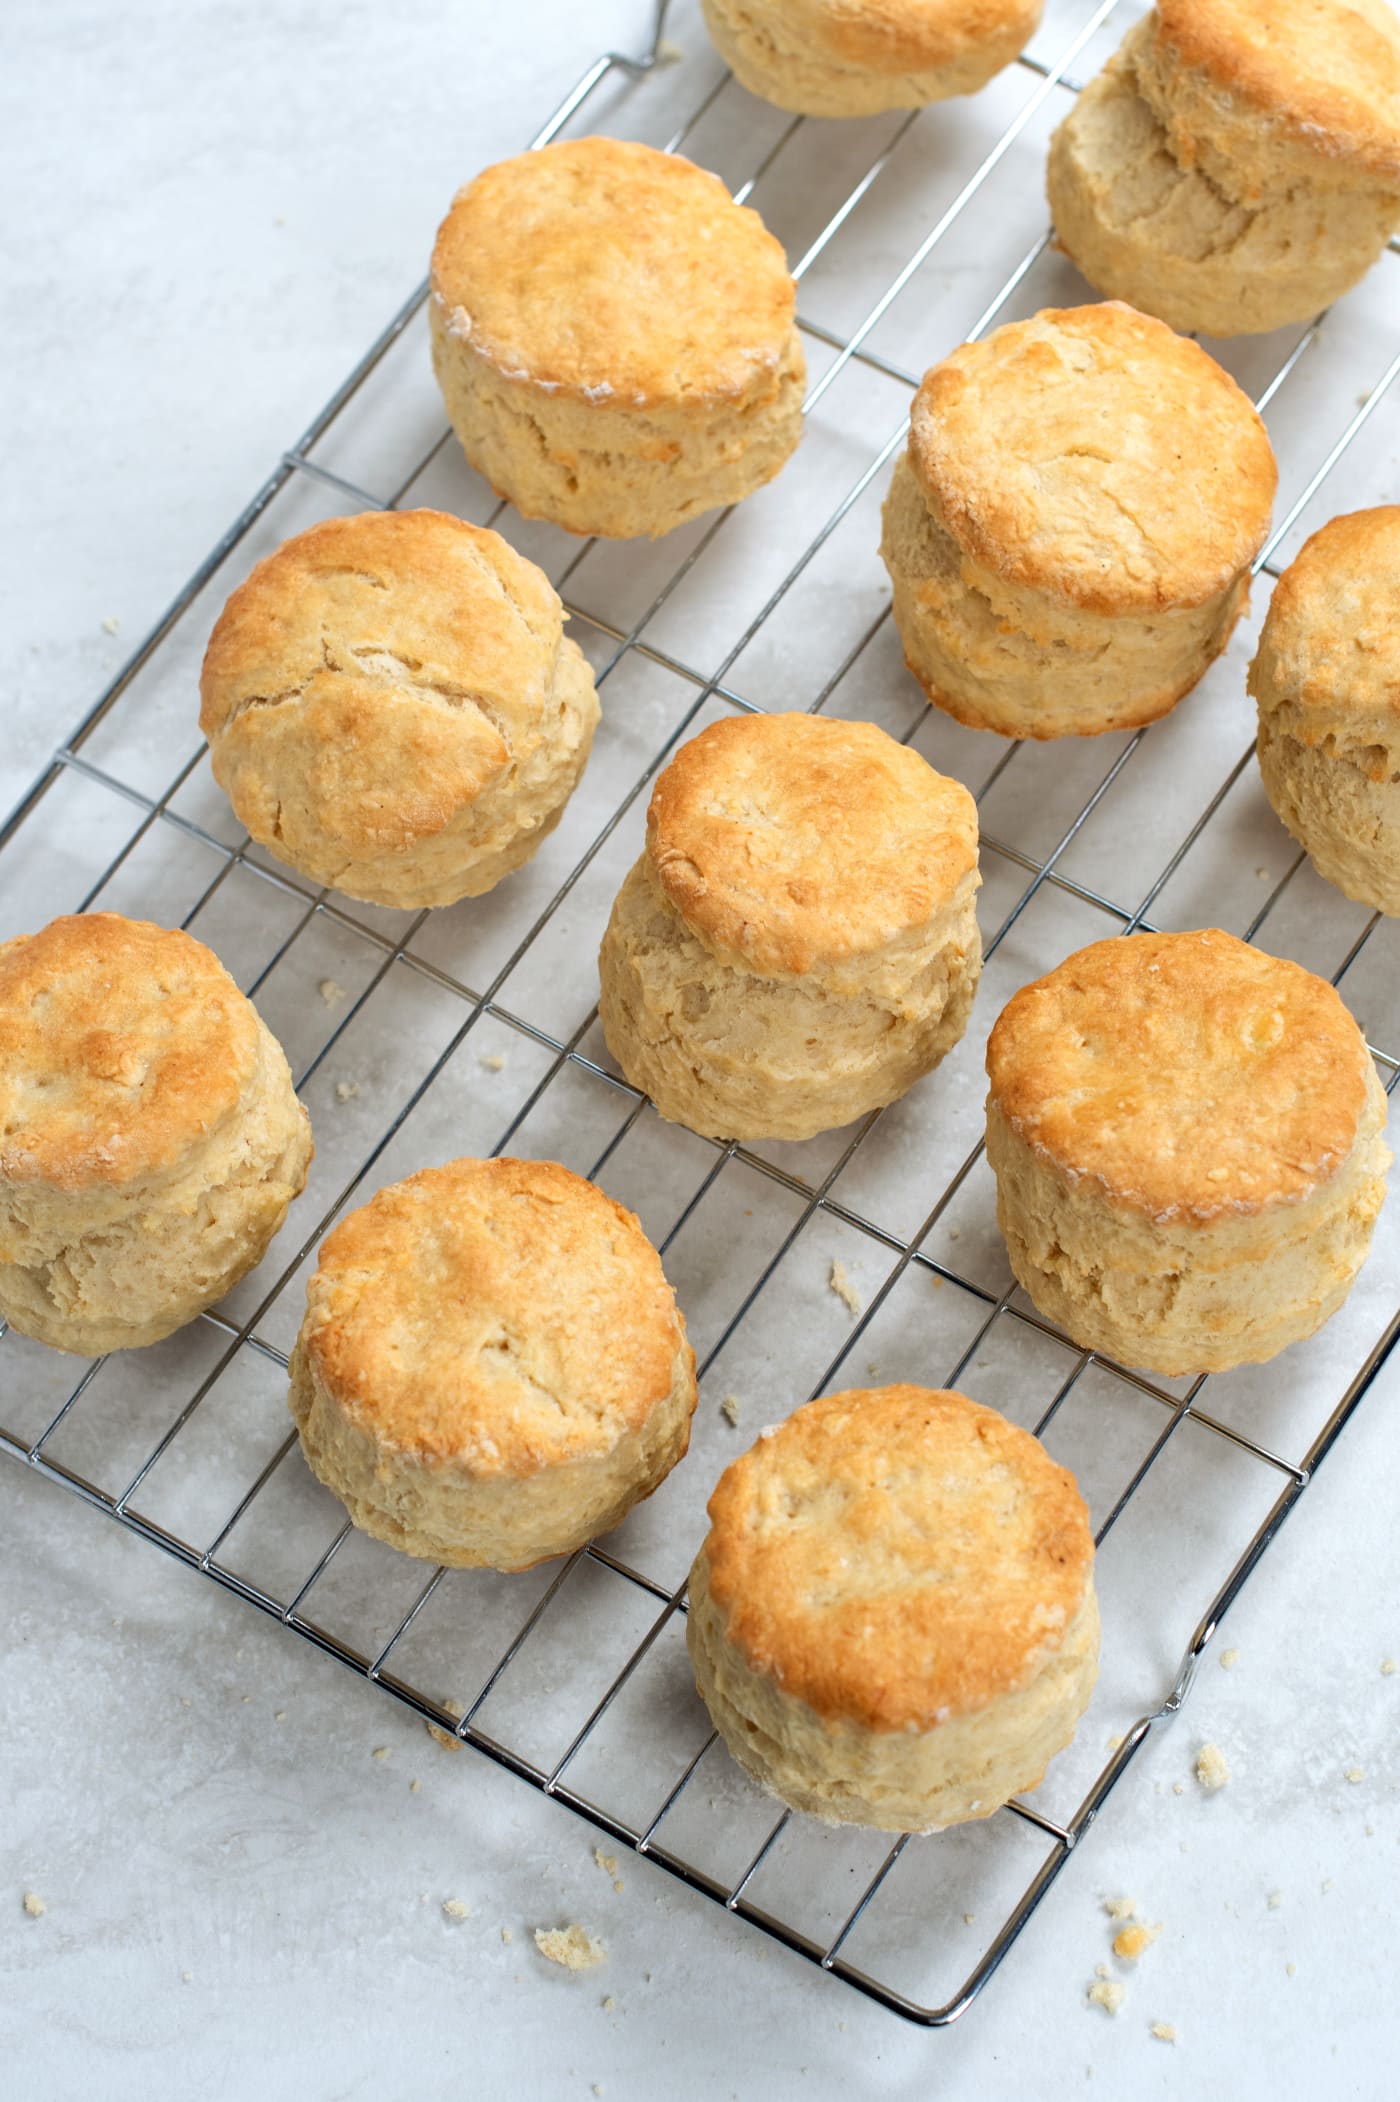
- Once cool enough to touch, transfer to a wire rack to cool completely or enjoy whilst still warm.
IMPORTANT NOTE:
All my recipes are developed using a digital scale and the metric system (grams and millilitres). Cup measurements are available as a conversion but these, unfortunately, won’t always be as accurate. For best results, I always recommend baking with a digital scale.
NOTES
Storage:
Plain Scones are best enjoyed fresh on the day they are baked. Store leftover scones in an airtight container at room temperature for up to 2 days. Warming them again can help bring them back to life if they’ve started to go a little stale.Freezing:
Scones freeze well. Allow them to cool completely, then freeze in an airtight container or freezer bag for up to 3 months. Defrost at room temperature and warm briefly in the oven before serving.Substitutions:
- Flour: If you don’t have self-raising flour, you can make your own by adding baking powder to plain flour. As a guide, add about 2 teaspoons of baking powder per 150g of plain flour.
- Milk: Any milk will work in this recipe. Dairy-free milks such as soya, oat, or almond milk can be used with good results.
Tried this recipe?
Tag @bakingwithgranny or use the hashtag #bakingwithgranny!In theory, scones are incredibly easy to make. You start by sifting your flour, salt and baking powder into a large bowl. Next, rub the butter with your fingertips before stirring through the sugar. Finally, you add the liquid – in case milk & yoghurt – before gently mixing all the ingredients together to create a soft, sticky dough.
You’ll then take your dough and flatten it on a well-floured work surface before cutting your scones to your desired size. Next, you pop them onto a baking sheet, brush them with a little milk, and bake them in a hot oven for about 10 minutes.
Like I say, easy in theory. But scones can take a bit of practice to master.
Yes, you can make scones with plain flour. In fact, my recipe for Fruit Scones uses plain flour. However, you will need to add the raising agents that you would usually find in self-raising flour – without any raising agents, your scones will be like rocks. And not in a nice Rock Buns kind of way!
The general rule of thumb is to add 2 teaspoons of baking powder for every 150g of plain flour. So in this recipe, you would use 5 teaspoons of baking powder, since there is 450g of flour, and don’t forget the additional 2 teaspoons the recipe calls for. So in total, 7 teaspoons of baking powder.
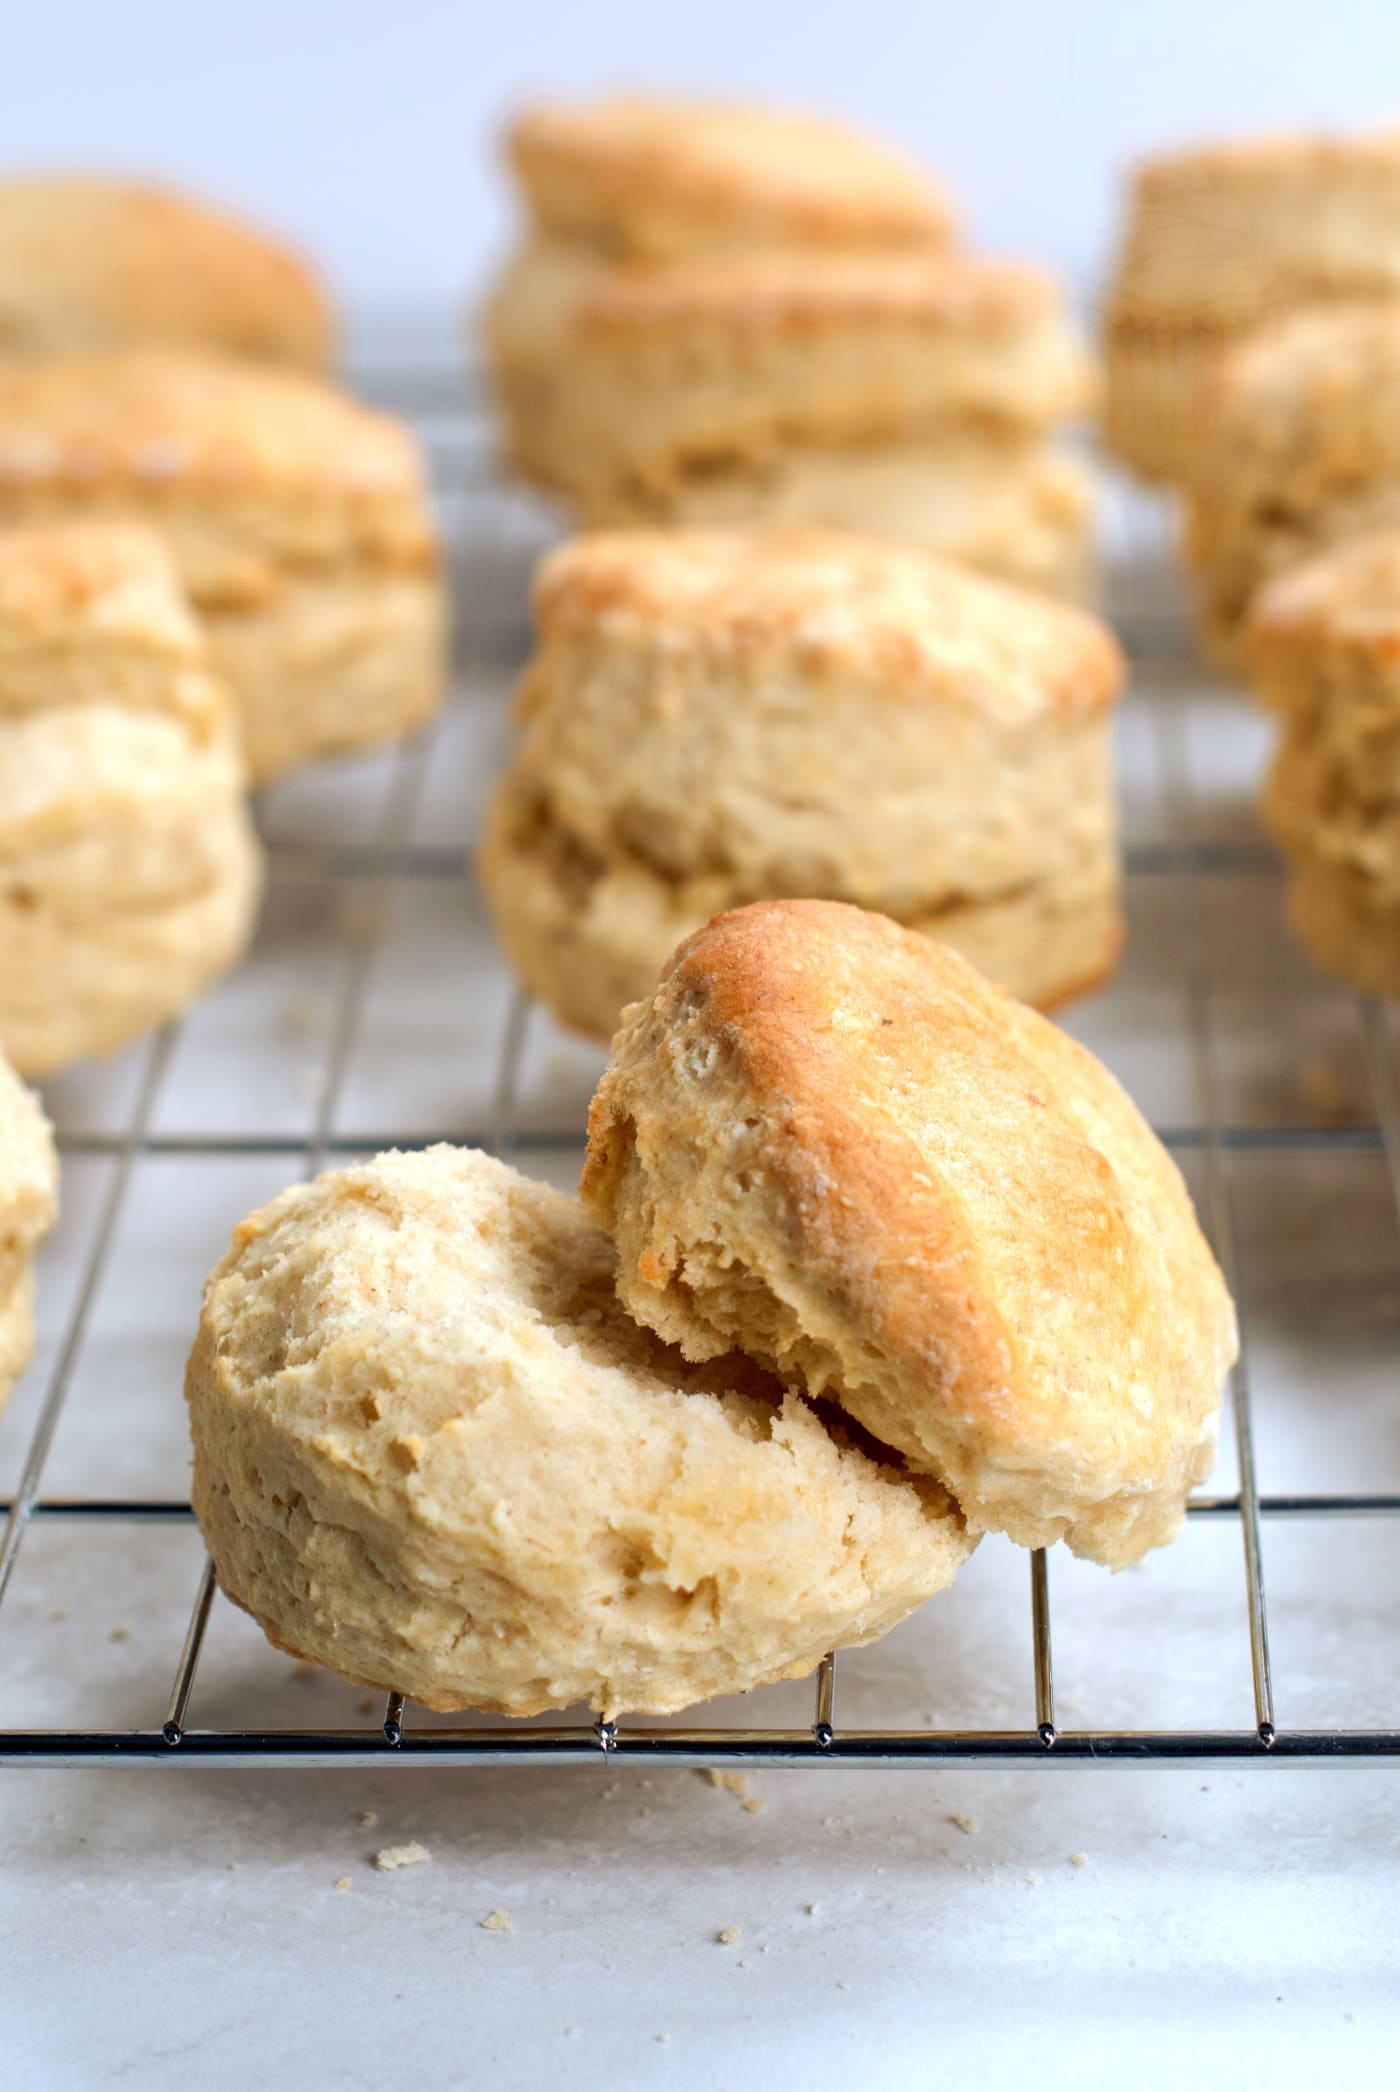
The key to light scones is handling the dough as little as possible. Overworking the dough develops the gluten in the flour, which can make scones dense and heavy. A light touch and cold butter or margarine will help create soft, fluffy scones.
Scones may not rise well if the dough has been overworked or if the raising agents are no longer active. Using fresh self-raising flour and baking powder, along with a hot oven, will help your scones rise properly. But it’s also worth noting that scones don’t rise a massive amount, so don’t “roll” your dough too thin either.
In short, no. Scones do not need eggs. However, some recipes include an egg in their scone mix, and some people will even insist it is a necessity. I disagree. And if you try this Plain Scone recipe, I’m sure you will agree that an egg is not missed.
Adding an egg to scones can add richness and extra moisture. In fact, my Victoria Scones do use an egg, so I’m not entirely against the idea of eggs in scones. But for your everyday scone, it’s not necessary. These scones are not dry, and they are plenty rich. By sticking to a traditional no-egg scone mix, you also make them much more affordable and the perfect thing to bake when you want to bake but don’t have any eggs left!
Yes. If you prefer not to use yoghurt, you can replace it with buttermilk or sour cream, which will provide a similar acidity that helps keep the scones light and tender
Absolutely! Scones freeze very well, in fact. Like most homemade bakes, scones are best enjoyed on the day you make them, especially fresh from the oven. But if you want to make them in advance, or you simply can’t finish an entire batch in one go, freezing them is a great idea.
Pop them into a freezer bag and simply take a scone out at a time when you want to eat them. Ideally, you would leave them to defrost at room temperature, but you can defrost them in the microwave too. I like my scones warm, so I heat them in the microwave or even in the toaster before enjoying.
Free-from & Vegan:
Nut-free: There are no nuts used in this Plain Scone recipe, but as always, be sure to double-check your individual ingredients allergens list.
Dairy-free: To make this a dairy-free Plain Scones recipe, simply use a dairy-free milk, yoghurt & margarine.
Vegan: As there is no egg in this scone recipe, simply follow the dairy-free tips above to make these a Vegan Plain Scones recipe. The scones pictured are actually vegan, made with dairy-free margarine, soya milk and yoghurt.
N.B. Any advice or suggestions to make recipes “free-from” or vegan are purely that – suggestions. Please be careful to double-check all ingredients individually, taking extra caution when serving to those with allergies & intolerances.
For more info on common food allergies, please see food.gov.uk | For more info on coeliac disease, please see coeliac.org.uk | For more info on a vegan diet, please see vegansociety.com

Help! Love the recipe, but I am in US.
Has anyone converted to non metric?
Thanks
Can i make these gluten free?
Great recipes
Scones have to be baked quickly in a hot oven so I do not know why 10 minutes of rest before brushing. This is perhaps the reason for ‘spreading’ described by another person.
Scones need to be placed close to there for better rising.
(Cannot delete or edit the old mistake- ridden post)
Hi Desiree.
As explained above, the rest period is to allow the gluten to relax a little before baking – avoiding tough scones and instead resulting in nice soft ones!
I believe the comment you are referring to wasn’t actually in regards to this recipe but another recipe that someone’s friend had used.
Give it a go next time you make scones – you can thank me later! ;)
actually nothing to do with the gluten. Its when a reaction happens with the baking powder and liquid, it starts to work when resting then you get a lighter and higher rise. I studied the chemistry of cooking foods when training to be a chef.
My mum always left her scones to rest for 10 minutes before baking, and they were the absolute best scones ever.
I haven’t make the recipe yet. I want to ask if I can use xiletol instead of caster sugar?
Hi Amanda.
I don’t really have any experience of using sweeteners when baking so I wouldn’t be able to say for sure. If you do give it a go, let me know the results!